In the words of Meg Ryan
YES! YES! YES!
Yes .... Today is the day that the new Stampin' Up! Catalogue Goes Live .... Yeh Ha!
Our launch day nearly didn't get going as the gales from a couple of nights ago left us with heavy run off from the fields, and no electricity since the night before last!
The mobile phones and Kindles ran out of power so we were reading by candle light. Thank goodness for the BBQ and the camping stoves ...
But, as we slept through the night, the power came on at some point early this-morning
So here I am, Bright and cheery to share the Launch of the new Catalogue
Look at the inspiration on the catalogue front cover. And if you think the cover is full of inspiration, just wait until you see inside!!
The catalogue is Packed Full with creative ideas and projects.
Today I am sharing with you one of those Ideas, that I turned into my own version
Ypu can find the Helping Me Grow Stamp Set on page 40 of the catalogue.
You can find the tutorial below
&
if you click on the product icons below, you will be transported to my online store where you can browse and.or place your order.
If you need help choosing items, or ordering, you will find my contact details at the bottom of today's blog post, or the Contact Me Tab at the top of the blog
Table built using Product Table Builder by The Crafty Owl - Independent Stampin' Up! Demonstrator.
So here is today's project.
An Emboss Resist Card that is SO simple to make, but looks so pretty
Feel free to CASE any of my creative projects (Copy & Paste Everything)
Tutorial
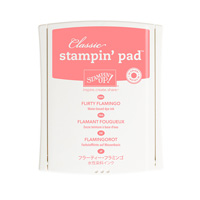
- Trim a piece of Flirty Flamingo Cardstock to 30 x 10.5cms; score at 14.8cms; fold & burnish
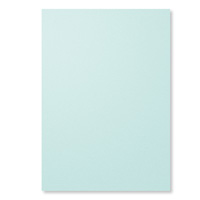
- trim a piece of Soft Mint Macaron Cardstock to 14.4 x 10.1 cms & dry Emboss using your Big Shot. Mat onto the Card Front
- Trim a piece of Whisper White Cardstock to 14 x 9.7 cms & stamp the Flower from Helping Me Grow Stamp Set using Versamark Ink Pad; Dust with White Embossing Powder & Heat Set
- Sponge the flower heads using the Flirty Flamingo Ink Pad; Then sponge the surrounding areas using the Minti Macaron Ink Pad
- Add a strip of Flirty Flamingo Ruched Ribbon to the card front
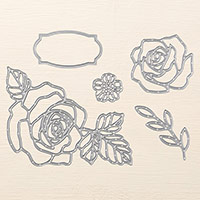
- Stamp the sentiment and label using Versamark Ink Pad onto a scrap of Whisper White Cardstock and Die Cut using the Magnetic Platform with your Big Shot.
- Sponge the label with residual ink on the sponges, and mount onto the cardfront using Stampin Dimensionals
- Finish with a bow using Whisper White Thicker Bakers Twine
How to Contact or Follow Me
Kim Tolton, Independent Stampin Up Demonstrator.
Card & Papercraft Tutorials
Please feel free to comment below, and ask away with any questions. You can also find me via the links below
Blog:
Online Store:
Stamping @ The Warren Craft Forum:
Email:
kim.tolton@googlemail.com
youTube
Pinterest:
Google +
Facebook:
Twittert:
Instagram:
@kim.tolton
LinkedIn:


No comments:
Post a Comment