
Well, it seems all the good weather has disappeared for a while. I am back wearing my Uggs and thicker Tops!
But do I mind? Noooo! Because the New Catalogue is live and that means all is well in the world.
I have a super card for you today. But before I tall you all about it, there is a teeny bit of Business for you ...
If you would like a complimentary Catalogue from me, and you have a UK Mailing Address
& I will get one out to you
You can also view all the new products via
And now for the card I am sharing with you today. And what I love, is that is brings some of the best products that have folled over from last years catalogue, and mised it up with some of the new.
This, for me, really highlights the lengths that the Stampin Up! Design Team go to, to ensure that all their products blend and co-ordinate with one another.
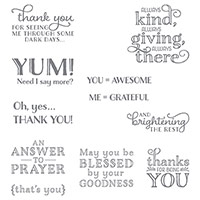
From the old catalogue I am using the Me = Greatful Stamp Set and the Perpetual Birthday Calendar Stamp Set for the artwork.
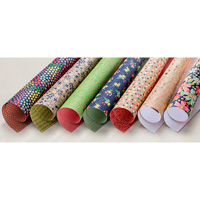
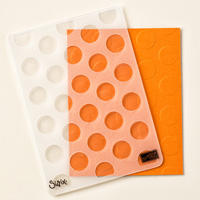
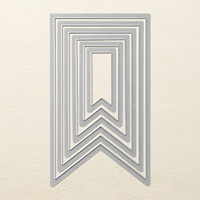
I have added the Banner Framelits and the Large Dots Textured Impressions Embossing Folder (TIEF) . I have coupled these products with some of the new Designer Series Papers (Affectionately Yours) and all 5 of the new In Colours
The fill tutorial and all my contact/social media accents can be found below.

Feel free to CASE any of my creative projects (Copy & Paste Everything)
Click on the icons below to view/order any of the products used in today's tutorial


Tutorial
- Make your card base by trimming a piece of Kraft Cardstock to 21 x 14.8 cms; score at 10.5 cms; fold & Burnish
- Trim a piece of Affectionately Yours Designer Series Paper (DSP) to 14.4 x 2 cms and mount at the top of your Card Base using Fast Fuse Adhesive
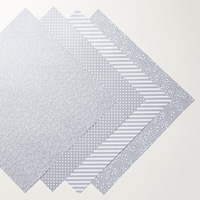
- Trim a piece of diagonal stripped DSP from the Neutrals 12" x 12" Paper Stack to 14.12.5 x
- Trim a piece of Flirty Flamingo Cardstock to 12.5 x 6 cms and mat onto the centre of the card base beneath the Affectionately Yours DSP strip.
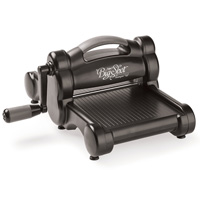
- Die cut the largest of the Banners Framelits Dies from Flirty Flamingo Cardstock using your Big Shot (best results with the Magnetic Platform); and then Dry Emboss the Banner using the Large Dots Textured Impressions Embossing Folder (TIEF). Mount onto the centre of the card base using Stampin Dimensionals for lift.
- Die Cut the next size down Banner Framelit using Whisper white Cardstock
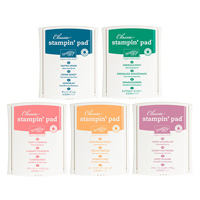
- Stamp the Sentiment at the top of this banner, and then randomly stamp using some of the floral stamps from the Perpetual Birthday Calendar Stamp Set. I have used a mixture of the new (2016-2018) In Colour Ink Pads; Mount on top of the first banner using Stampin Dimensionals again,
- Finish with a nice loopy bow of Linen Thread & adhere to the top of the card using a Mini Glue Dot.
How to Contact or Follow Me
Kim Tolton, Independent Stampin Up Demonstrator.
Card & Papercraft Tutorials
Please feel free to comment below, and ask away with any questions. You can also find me via the links below
Blog:
Online Store:
Stamping @ The Warren Craft Forum:
Email:
kim.tolton@googlemail.com
youTube
Pinterest:
Google +
Facebook:
Twittert:
Instagram:
@kim.tolton
LinkedIn:
No comments:
Post a Comment