Have I every told you that I love colouring?
OK, so I guess I have told you many many times that I am passionate about all things Papercraft.
But there is something really relaxing about colouring, whether it is faux watercolour techniques, actual watercolouring, markers, sponging, etc.
And this very Zentangle inspired Dove of Peace Wood Mounted Rubber Stamp is perfect for all or any of the above.
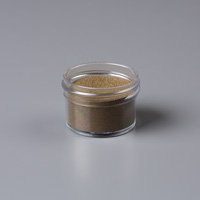
I have used the Regals Stampin Write Markers, after Heat Embossing the Dove image using Gold Embossing Powder, onto Whisper White Cardstock.
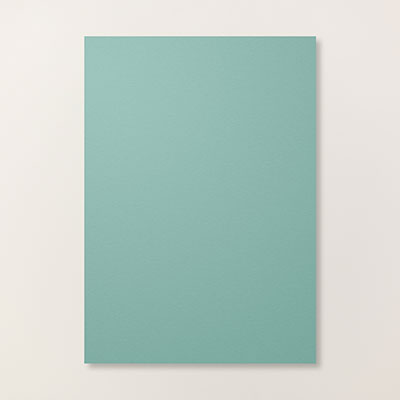
The 6" Card Base was made using Stampin Up!s new A4 Thicker Whisper White Cardstock. and then covered with a piece of Winter Wonderland Gold Foiled Designer Vellum Stack cardstock (I used the one that mimics the design of the Dove).

I used a combination of Cherry Cobbler Marker (for the body of the dove); Rose Red Marker( for the wings of the Dove; and Always Artichoke (for the intricate design areas on the doves body)
For best effect, you want to leave some white areas on the Dove to allow the eye to be drawn to the colour work,
Trim the panel to size, and sponge the panel, and card edges with Rose Red ink using a Stampin Sponge.
Apply Stampin Dimensionals to the reverse of the panel, and mount at an angle on your card front.

Have a good play with this wonderful stamp, whose versatility extends beyond the festive season. It would equally work well if used for wedding invitations, or anniversary cards, stunning tags, and so much more.
Remember to share your photo's ... Be Loud and Proud of your achievements
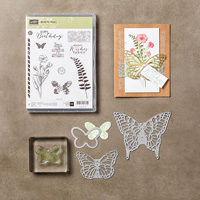
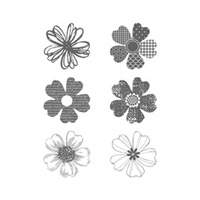
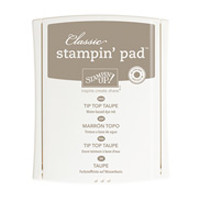
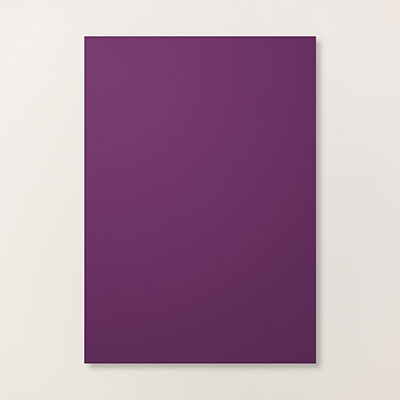
And below are the products I used today, so you can view and/or order them easily
Click on the product icons for more information
 |  |  |  |  |
 |  |  |  |  |
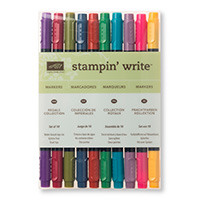 |
Table built using Product Table Builder by The Crafty Owl - Independent Stampin' Up! Demonstrator.

Join my Pinterest community board,
Where you can share your own Stampin Up Creations?
Follow the Pinterest Board on the left hand side
bar and I will send you an invitation to follow the Stampin Up! At The Warren
Community Pinterest Board
If you have any
questions on techniques or products, or Joining my Team/discussing the business
opportunities Stampin Up! Can offer
Contact Me
Or telephone/text
07759587004
Happy Stamping
Kim
xxx
Order your Craft
Supplies on line 24/7
http://www.stampinup.net/esuite/home/stampinupatthewarren/