
You're Simply Wonderful
That is the order for today. With some lovely Sale A Bration Free Products with every £45 you spend on current Stampin Up products.
But you need to get that order in soon, so be quick about making your list, as come 31 March, SAB ends .... and that includes the extra points you could earn for your starter kit if you are interested in joining Team Warreners
But back to todays card. I have combined some of my current favourite products in one card, with a lot of embossing, both Dry embossing and Heat Embossing

Begin by trimming a piece of Crumb Cake cardstock to 9 cm x 9 cm
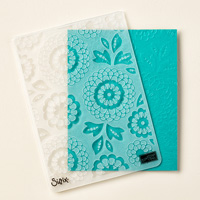
Dry emboss the crumb cake cardstock using the Lovely Lace Textured Impressions Embossing Folder (TIEF)
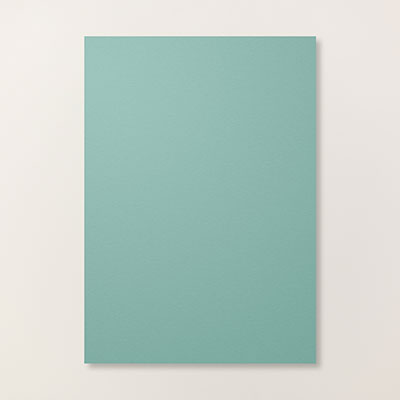
Next, Trim a piece of Lost Lagoon cardstock to 12 cm x 12 cm
Dry each edge of the cardstock with the scallop border Delicate Designs TIEF
Apply Stampin Dimensionals to the reverse side of the Crumb Panel and mount on top of the Lost Lagoon Panel
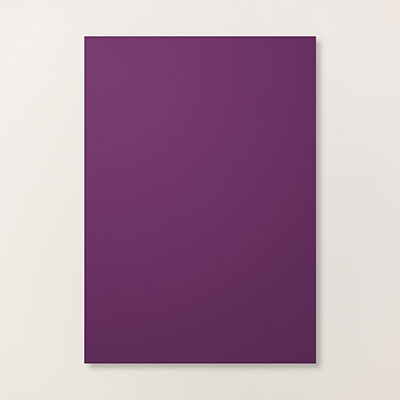
Mat the layered card front onto a piece of 12.5 cm x 12.5 cm piece of Blackberry Bliss Cardstock using a tiny amount of Tombow Multi-Purpose Liquid Glue
Wrap around a piece of Lost Lagoon Thick Bakers Twine (from the SAB In Colour Accessory Pack)
Apply Stampin Dimensionals to the reverse side of the Blackberry Bliss cardstock & mount onto your 6" square Card Blank

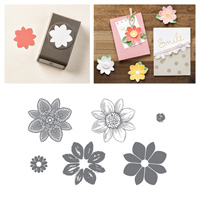
Next, to make your lace flower.
Stamp the Lace Flower from Petal Potpourri Stamp set onto White Vellum using Versamark ink. Dust with White Embossing Powder and heat set with your Heat Tool
Punch out the flower using the Flower Medallion Punch (the Petal Potpourri stamp set and the punch are available as a bundle at a 25% cost saving.). Apply a Stampin Dimensional tot he reverse of the Flower and attach to the card front, and add a Basic Pearl to the centre of the flower.
The last part, is to make your sentiment Label.
Stamp the sentiment (from Simply Wonderful SAB stamp set) using Stazon Black ink onto a strip of Whisper White cardstock.
Trim the label to 1 cm wide.
Now create banner ends by inserting the strip of cardstock in through the top of the Banner Punch, guide the cardstock between the cutting blades and punch.
Rotate by 180 degrees, and repeat with the this end also.
Trim a strip of Blackberry Bliss cardstock to 105 cm wide and create banner ends as above, ensuring that you make this mat (layer) slightly longer than the sentiment label. Adhere the sentiment label to the blackberry bliss label, apply Stampin Dimensionals to the reverse and mount the layered sentiment label onto your card front.
And there you have it. A lovely project you can use for all those lovely free Sale A Bration products you have earnt yourself with your orders.

If you would like
to ask any questions on techniques or products, or anything else related to my
blog posts, please feel free to ask away
Happy Stamping
Kim xxx
Contact me to
order:
Telephone/Txt:
07759587004
Email: kim@stampinupatthewarren.com
Or Order
Online 24/7
Or Click on the
image of the products used below and it will take you straight to my online
store
 |  |  |  |  |
 |  |  |  |  |
 |  |  |  |  |
 |  |  |  |  |
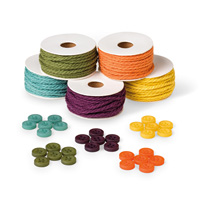 |
Table built using Product Table Builder by The Crafty Owl - Independent Stampin' Up! Demonstrator.

No comments:
Post a Comment