By the time you read today's post, it will be my Grandsons Birthday
And I want to share with you, the card I made for h9m.
I am soooo proud of our Alfie. He is eight years old today, and has Asperger's Syndrome
He fixates on certain thing (cards mostly) and lives by very rigid rules.
Since his Dad (my eldest son) also has Aspergers Syndrome, I have had 30 years to learn how to nurture little people with anxieties when their rigid world doesn't go to plan.
There are 3 colours that are important to Alfie, and their presence helps him feel calm & Safe.
These colours are Red, Green and Yellow.
The Red & Green are the biggies, and yellow is a compromise
So I used these colours in the making of his Birthday Card, using inks from the Brights colour collection.
Three Stamp Sets were used, the Background for both layers was produced using
GORGEOUS GRUNGE Stamp Set
The Sentiment is from BIG NEWS Stamp Set
& the extra large number 8 is from LARGER THAN LIFE ALPHABET & NUMBERS Stamp Set
I began by Stamping a 9 cm x 9 cm Whisper White panel with the large 'splodge' stamp with Pool Party and Old Olive ik. This was over-stamped with the Birthday Sentiment from Big News stamp set, using Black Stazon ink
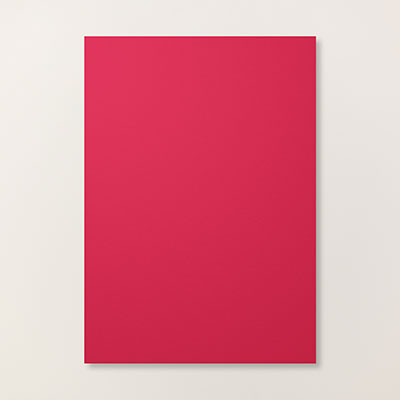
Mat (layer) this panel with a piece of Cherry Cobbler cardstock measuring 9.5 cn x 9.5 cm
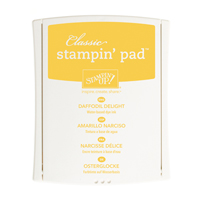
Next stamp a 12 cm x 12 cm Whisper White panel with the extra large number 8 stamp using Daffodil Delight & Old Olive ink.
Then use Real Red ink to stamp the fine splatter over the numbers, with and Real Red ink, overstamp the panel with a few Candles (from Big News).
Mat (;ayer) this panel onto a piece of Old Olive cardstock measuring 12.5 cm x 12.5 cms.
Next, stap the extra large nmber 8 onto a piece of Cherry Cobbler Cardstock using Versamark ink pad. Dust with White Embossing Powder and Heat Set using your Heat Tool.
Cut around the Number 8 using some Paper Snips, making sure your rotate the cardstock as you trim, and don't move the cardstock. You will get a better finished product, and practice makes perfect.
I then stamped my grandsons name using a retired Alpha Stamp Set using Versamark and dusted with White embossing powder and heat set.
Finish by tying round a piece of Pear PizzZZ Cotton Ribbon and tie a knot. Add a Brights Designer Button and attach to the card front with a couple of Glue Dots
and Finally,put a couple of Stampin Dimensionals to the reverse of the name panel (which was trimmed to si\e using a Stampin Trimmer)., you may need a couple of glue dots too to ensure the nae panel is at the same level as the other panels.
And there you are ... I hope you like the card, but more importantly, I hope my Grandson Loves it more!
If you
would like to join my Pinterest community board where you will be able to post
your own Stampin Up creations. Simply email me and I will add you to the board
If you would like
to ask any questions on techniques or products, or anything else related to my
blog posts, please feel free to ask away
Happy Stamping
Kim xxx
Contact me to
order:
Telephone/Txt:
07759587004
Email: kim@stampinupatthewarren.com
Or Order
Online 24/7
Or Click on the
image of the products used below and it will take you straight to my online
store
Table built using Product Table Builder by The Crafty Owl - Independent Stampin' Up! Demonstrator.


No comments:
Post a Comment