Only Five Days left before the new Catalogue Launch
Can you believe it? A Year has flown by!
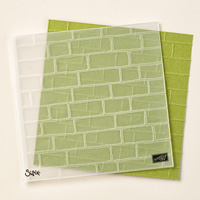
Today I have a super simple and quick card to make using the Big Shot for some Dry Embossing with the Brick Wall Textured Impressions Embossing Folder (TIEF)
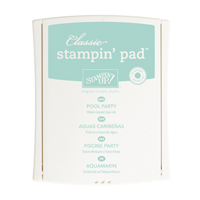
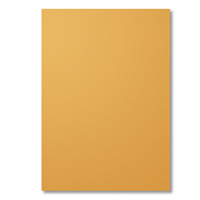
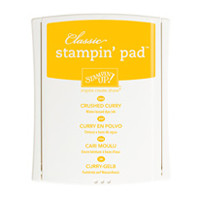
There is a little stamping with the assistance of the Birthday Blossoms Embossing Folder. The Flowers were created by stamping onto Delightful Dijon Cardstock using the Crushed Curry Classic Ink Pad.
The project has been co-ordinated with some Crushed Curry Bakers Twine and a few Basic Rhinestones.
If you haven't done any Dry Embossing before, trust me, it is super easy using the Die Cutting Machine (Big Shot).

Can you believe it? A Year has flown by!
Today I have a super simple and quick card to make using the Big Shot for some Dry Embossing with the Brick Wall Textured Impressions Embossing Folder (TIEF)
There is a little stamping with the assistance of the Birthday Blossoms Embossing Folder. The Flowers were created by stamping onto Delightful Dijon Cardstock using the Crushed Curry Classic Ink Pad.
The project has been co-ordinated with some Crushed Curry Bakers Twine and a few Basic Rhinestones.
If you haven't done any Dry Embossing before, trust me, it is super easy using the Die Cutting Machine (Big Shot).

Feel free to CASE any of my creative projects (Copy & Share Everything)
Click on the icons below to view/order any of the products used in today's tutorial
 |  |  |  |  |  |  |
 |  |  |  |  |  |  |
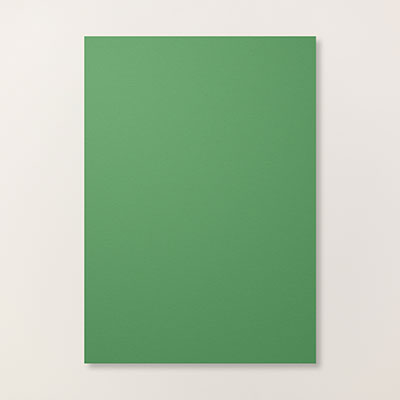 |  |  |  |  |  |  |
Table built using Product Table Builder by The Crafty Owl - Independent Stampin' Up! Demonstrator.
Tutorial
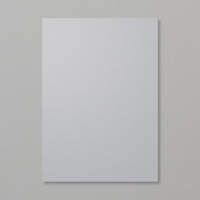
- Trim a piece of Smokey Slate Cardstock to 21 x 14.8 cns; score at 10.5 cms; fold & Burnish with a bone folder
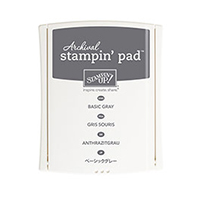
- Randomly stamp the front of the card base with the Blossom stamp from the Birthday Blossoms Stamp Set using Archival Basic Black Ink Pad.
- Trim a piece of Whisper White Cardstock to 10 x 10 cms, insert into the Brick Wall TIEF and place an acrylic cutting plate above and below the embossing folder.With the Multi-Purpose Platform on Tab 1, and the fold of the embossing folder going into the Big Shit first, run the TIEF through the Big Shot. Remove the cardstock from the folder
- Using Archival Basic Gray Ink Pad, stamp the Birthday greeting on one of the 'Bricks' leaving space for mounting your flowers later on.
- Decide which side you want facing up, and wrap around some Bakers Twine and tie a bow
- Attach the embossed card to the bottom section of the card front using Stampin Dimensionals for some 'Lift'
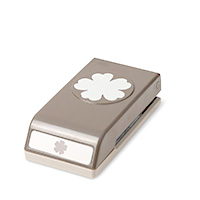
- Stamp a couple of Pansy Flowers from the stamp set, onto Delightful Dijon Cardstock using Crushed Curry Ink Pad & punch out using the Pansy Punch
- Stamp 4 leaves from the stamp set using Cucumber Crush Ink Pad onto Garden Green Cardstock, Fussy Cut the leaves using Paper Snips, creating long stems
- Attach two leaves behind each Flower using the Fine tip Glue Pen. Add a couple of Stampin Dimensionals behind each flower and mount onto your card front, and secure the base of the stems using the Fine Tip Glue Pen.
How to Contact or Follow Me
Kim Tolton, Independent Stampin Up Demonstrator.
Card & Papercraft Tutorials
Please feel free to comment below, and ask away with any questions. You can also find me via the links below
Blog:
Online Store:
Stamping @ The Warren Craft Forum:
Email:
kim.tolton@googlemail.com
youTube
Pinterest:
Google +
Facebook:
Twittert:
Instagram:
@kim.tolton
LinkedIn: