
If you follow my blog, you will know that I love the build up to Stampin Up! Events. I love designing and making my swaps, so Demonstrators can share creativity, and get fresh ideas to use in their own workshops. It is also a great way of networking with other like minded members of the Stampin Up! Family.
On the day, I love the make and take projects, the display boards, the free products, and of course, the Prize Patrols. The Camaraderie id electric
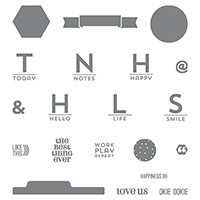
T this years event in April is held in Telford, at The International Center, and Stampin Up! put out a call for anyone who had a mind, to submit
Two 3D Projects
Three A6 Card Fronts
& a Scrapbook Page
So of course, I embraced this creative idea, and got crafting, Below you can find the items I have submitted for consideration to become one of the On Stage Live Display Board Stampers.
I hope you like what I have made, and even if I am not selected from the hundredsof UK Demonstrators that will no doubt apply for the same privilege, I have enjoyed the taking part!

My First 3D piece is this Tissue Box Cover, made using the Beautiful Bunch Stamp Set & I coupled it with this lovely sentiment from the Get Well soon Sentiment from Hopeful Thoughts Stamp set, .
You will find icons the below each of today's projects, showing the products used
just click on the icons and you will be taken to my online store
to view the items and/or place an order


Next is the first of my Card fronts. The card above uses the Bordering Blooms Photo polymer Stamp from Stampin Up! I used a combination of Rose Red & Blushing Bride & Elegant Eggplant inks to sponge the background, and then using the White Craft Ink Pad, created the subtle Bokeh technique for the background. The different sized Bokeh were created using a combination of the Dots Decorative Mask, a Sponge Dauber & the eraser (rubber) on the top of a pencil. I then stamped some small flowers from the Petite Petals Stamp Set, punched out using the co-coordinating Punch, and stamped them in a a combination of Rose Red and Elegant Eggplant inks, and using a Stampin Sponge, the edges of the flowers were sponged using a combination of all 3 inks I used for the card. Some of the flowers were Popped Up using Stampin Dimensionals, and the Mat layer is Rose Red. Finally, the sentiment is from Stampin Up!'s Happy Happenings Clear Mount Stamp Set.
You will find icons the below each of today's projects, showing the products used
just click on the icons and you will be taken to my online store to view the items and/or place an order
 |  |  |  |  |  |
 |  |  |  |  |  |
 |  |  |  |  |
Table built using Product Table Builder by The Crafty Owl - Independent Stampin' Up! Demonstrator.

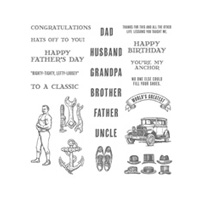
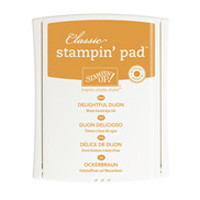
To show diversity, I then decided on a masculine card, although, if you changed the sentiment, it could work just as well for the any gender.This card uses a Masking technique for the sentiment.and I chose this years outgoing In Colours, along with Basic Black and Basic Gray Classic Ink Pads. If you like the colours, you will be pleased to know that you can purchase an In Colour ink pad/Cardstock assortment bundle ... just chose between the 2014-2016 pack, or the 2015-2017 pack
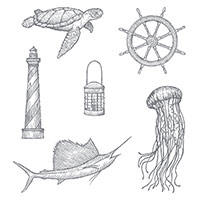
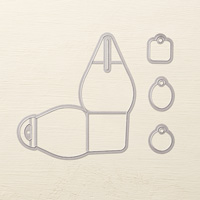
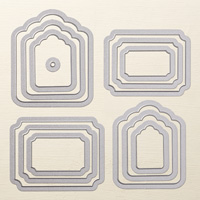
Any how, creating this card front goes the opposite way round to how I normally create a stamped card. I began by stamping the Fathers Day sentiment from the Guy Greetings Stamp Set using Basic Black (archival) ink pad, and then using a Black Journaling Pen and a steel rule, I drew two lines, one above and the other below the sentiment. Next, I cut down some Post It Notes, retaining the sticky strip and covered the sentiment and lines. Once the mask was in place, I stamped the card front using a combination of two seaside/nautical stamp sets - By The Tide and From Land to Sea. Both are available via my Stampin Up! Demonstrator Website.The Mat layer is Lost Lagoon, to create that sense of sea. Because I adore the Turtle Stamp, I wanted to highlight it. Sot on a scrap of Whisper White Cardstock, I stamped some of the coral, then over stamped the background with the a couple of the Turtles. I then die cut this using the Lots of Labels Framelets Dies and run this through my Big Shot. Next I die cut a mat layer using Blackberry Bliss cardstock (from the In Colour Collection), using the next size up Framelit. I trimmed the tops off the labels and popped the labels up using Stampin Dimensionals, and then mounted the label onto the card front.
You will find icons the below each of today's projects, showing the products used
just click on the icons and you will be taken to my online store
to view the items and/or place an order
| | | |  |  |
 |  |  |  |  |  |
 |  |  |
Table built using Product Table Builder by The Crafty Owl - Independent Stampin' Up! Demonstrator.

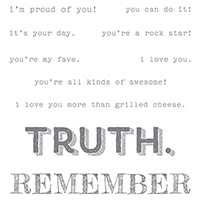
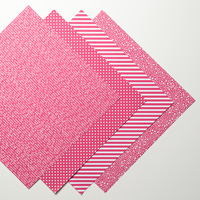
My third card front, uses some of Stampin Up!'s delightful Designer Series Papers (DSP), coupled with some Funky Stamping using the Friendly Wishes Stamp Set (also from Stampin Up! ... of course) For the card base, I used Melon Mambo Cardstock from the Brights Collection. I then trimmed a piece of the Rick Razzelberry based Bohemian DSP, and mat it onto the card base. Next I trimmed a piece of Very Vanilla into a proportional rectangle and using 2nd generation stamping and stamping off techniques, I created the background using Melon Mambo & Rich Razzelberry Inks (to keep the project co-ordinated) and one of the smaller faux watercolour stamps from A Work Of Art stamp set.
I then over-stamped the panel with the Friendly Wishes Stamp and Archival Basic Black ink Pad. The stamped panel was mat onto a piece of Old Olive Cardstock (again, from the Brights collection). and the panel was mounted onto the card front using Stampin Dimensionals to 'Pop' it and finally, and an In Colour Blossom Accent (resin flower) was added, using Chrystal Effects as the adhesive. up!When my son saw this card, he felt it looked like a Chalk Board Banner, and it was his favourite card from the three I made.
Let me know, which card you prefer?
You will find icons the below each of today's projects, showing the products used
just click on the icons and you will be taken to my online store
to view the items and/or place an order | | | |  |  |  |
 |  |  |  | 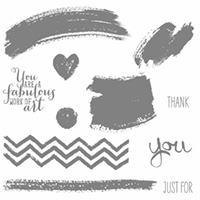 | | 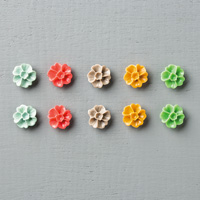 |
Table built using Product Table Builder by The Crafty Owl - Independent Stampin' Up! Demonstrator.

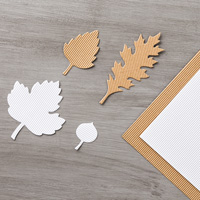
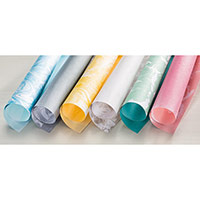
Now for the scrapbook page. Now, I have begun creating my own Project Life Scrapbook, and you will find photo's from that, plus a video, that shows you my very first attempt at Project Life. However, for this piece, I decided on a standard 12" x 12" scrapbook page. Since the photo's feature my boys at the seaside when they were young (now 32 & 29) I wanted a very organic but fun theme to the page. So rather than going for a standard piece of cardstock, I chose one of Stampin Up!'s Specialty Paper, the Corrugated Kraft Cardstock. When I build a page, I like to pick out no more than 3 colours from the photos I to use on the page as I feel it creates a co-cohesive finished effect.
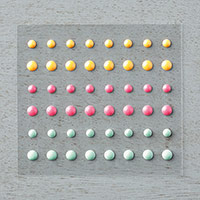
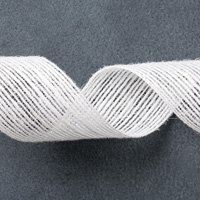
So I chose Pacific Point, Tempting Turquoise, & very Vanilla, with a teeny bit of Sahara Sand in there too. The sentiments were stamped using the Archival Basic Black Ink pad, to ensure They stood out when stamped onto coloured cardstock. The stamp Sets used in this project are: Trust In God; Words of Truth; Writing Notes; & Project Life This Is The Life. The sentiments were then punched out using a combination of the Decorative Label Punch, 3/4" & 1" Circle Punches, and finally, the 1" Square Punch, The Square punch was used to punch out squares of Designer Series Papers that were then folded in half to create the bunting and secured using a cut down piece of Stampin Dimensional. The Bunting was then threaded onto a piece of Linen Thread. The card was then embellished with some Candy Dots.
You will find icons the below each of today's projects, showing the products used
just click on the icons and you will be taken to my online store
to view the items and/or place an order
| | | | |  |  |
 |  |  |  |  |  |  |
|  |  |  |  |  |  |
 |  |  |  |
Table built using Product Table Builder by The Crafty Owl - Independent Stampin' Up! Demonst

Finally, I have my second 3D project. Now if you follow me on a regular basis, you will know that this is a project I have been working on recently. I have already published 2 video's (plus blog posts) on how to create this extra large exploding box. I will be filming the final part of the tutorials later this week,. On first glance you will probably wonder what is different .... well carry on scrolling down ...

Yes, below is the final card (excluding the personal embellishment that I will add, before giving this to my Mum for Mothers Day.


You will find icons below, showing the products used in this project just click on the icons and you will be taken to my online store to view the items and/or place an order


I would love to hear your comments, and do look out for that final video on my you Tube channel ... I will be featuring each of today's projects in my upcoming videos over the next week or so ...
Stamping At The Warren
Kim Tolton
Independent Stampin Up! Demonstrator (UK)
Card & Paper Craft Classes & How To Tutorials
JOIN my Pinterest Community Board
Where you will be able to post your own
Stampin Up! Makes
Simply follow my
Community Pinterest Board
And I will sent you
an invitation to start pinning
If you have any
questions on techniques, orders, products
OR
Joining my Team as an Independent Stampin
Up! Demonstrator
contact me via:-
Email me: kim.tolton@googlemail.com
Text: 07759587004
Order Online 24/7
Stamping @ The Warren Craft Forum:
Pinterest:
Google +
Facebook:
Twitter:
Instagram:
@kim.tolton
LinkedIn:
No comments:
Post a Comment