
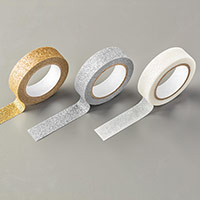
Today's card is a version of the Valentines Card I made for my Husband this year, using the Timeless Textures Stamp Set., A Super Collage Stamp Set, and I coupled this with the 2014 - 2016 In Colour Ink Pads and Cardstock, and a new Sale A Bration Freebie, the adhesive Glimmer Ribbon.
Some die cutting is required to give a sentiment label that pop's

________________________________________
- icons of all the products used to create today's card - click on them to visit my online store;
- A Video Tutorial
- & a typed tutorial
Feel free to CASE any of my creative projects (Copy & Paste Everything)
Click on the icons below to view/order any of the products used in today's tutor
 |  |  |  |  |
 |  |  |  |  |
 |  |  |  |  |
 |  |  |  |  |
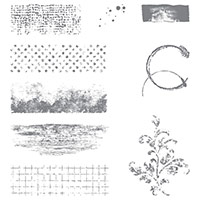 | 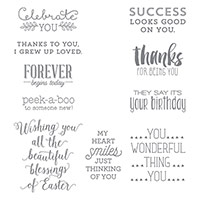 | 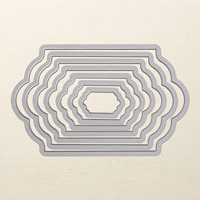 |
Table built using Product Table Builder by The Crafty Owl - Independent Stampin' Up! Demonstrator.
Watch the Video Below
Tutorial
1. Trim a piece of thicker
Whisper White Cardstock to 30 x 15 cms, score the long side at 15 cms (6"
Square card base); Fold & Burnish
2. Trim to size the following
cardstock:
- Whisper White
12 x 12 cms
- Lost Lagoon
12.4 x 12.4 cms
- Blackberry
Bliss 12.8 x 12.8 cms
3. Mat the Lost Lagoon
Cardstock onto the Blackberry Bliss Cardstock and mat (layer) onto the card
base.
Create a border around the
Whisper White Cardstock using Crumb Cake ink pad, with 2nd Generation Stamping
and the aged edge stamp from Timeless Textures
4. Over stamp the border
using Hello Honey Ink Pad and the Mug Ring like floral
stamp; Then over-stam pthe border again using the floral flourish stamp and
Lost Lagoon Ink Pad; and finally, using Blackberry bliss, stamp the small ink
blotch stamp using 5th generation stamping
5. Mat the stamped panel onto
the card front & add some torn pieces of the Dazzling Diamonds
adhesive glitter ribbon.
6. Stamp your sentiment from
the Suite Sayings Stamp Set, onto Whisper White Cardstock, and die cut using
the best fitting Lots of Labels Framelets Die, and then die cut the next size
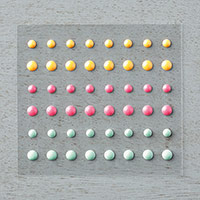
up framelit with Lost Lagoon Cardstock. Add a few It's My Party Enamel Dots,
and you are all done


How to Contact or Follow Me
Kim Tolton, Independent Stampin Up Demonstrator.
Card & Papercraft Tutorials
Please feel free to comment below, and ask away with any questions. You can also find me via the links below
Blog:
Online Store:
Stamping @ The Warren Craft Forum:
Email:
kim.tolton@googlemail.com
youTube
Pinterest:
Google +
Facebook:
Twittert:
Instagram:
@kim.tolton
LinkedIn:
No comments:
Post a Comment