google-site-verification: google70410e9e92d4fda2.html
Showing posts with label congratulations. Show all posts

Thursday, 5 May 2016

Baby Bear Multi Step Stamping Technique in Pink Pirouette & Lost Lagoon Sneak Peak Stampin Up! UK

Do I have a Treat for you today!
I won this delightful Baby Bear Stamp Set when I attended Stampin' Up!s On Stage Live Event in April. These Stampin Up! Events are super, and I get to meet up with some of my pals, that are also Demonstrators. There was nearly 400 of us at the event in April. Throughout the day, there are Prize Patrols, where you can win a product from the new annual catalogue. And I won this one!! To say I was over the moon, would be an understatement.

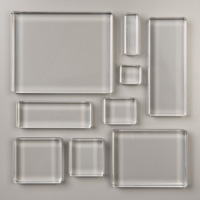
So here I am, sharing him with all of you! I know you have to wait until June 1st before you can order this stamp set, but today, I really wanted to share with you the Technique used for Multi-Step Stamp Sets as some people get in a bit of a pickle. The technique is actually very easy, because these stamp sets are now always in Protopolymer. This means you can line up the stamps according to landmarks on the stamps, since you can see through the acrylic block.

I have added the video here, as it is the easiest way for you to see the technique in action. And I have kept this card  design very simple for that purpose. I have coupled the card with a stamp set that is still available in the Retiring Products section of my website.

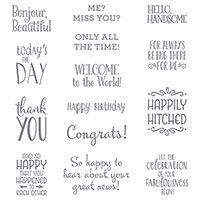
 The Stamp Set is called A Dozen Thoughts. Just click on the icon below to be transported to the stamp set in my online store.

Click on the icons below to view or order them via my online store

Table built using Product Table Builder by The Crafty Owl - Independent Stampin' Up! Demonstrator.

TUTORIAL
  1. Trim a piece of Thicker Whisper White Cardstock to 12.5 x 25 cms; Score at 12.5 cms; fold & Burnish
  2. Trim a piece of Lobr Blossoms Designer Series Paper to 12.1 x 12.1 cms and mat onto the card base
  3. Trim a piece of Whisper White Cardstock to 10 x 10 cms
  4. STEP ONE - Using the least defined stamp, ink up with the colour of your choice and stamp off some of the ink on the stamp onto a scrap of paper, and stamp onto the Whisper White Panel
  5. STEP TWO -Using the Medium defined stamp &  ink it up with the same colour , and stamp over the first image, lining up using the head and foot
  6. STEP THREE - Ink up the most defined stamp with the same colour, and line up as before and stamp
  7. Mat onto a piece of co-ordinating cardstock measuring 10.4 x 10.4 cms & mount onto the card front using Stampin Dimensionals
  8. Stamp the Baby Boy or Baby Girl sentiment from the Dozen Thoughts Stamp Set onto a scrap of the Designer Series Paper using Archival Black ink pad (dries quickly)
  9. Create shallow banner ends using paper snips and attach to the card front
  10. Embellish to your hearts content

WATCH THE VIDEO


How to Contact or Follow Me

Kim Tolton, Independent Stampin Up Demonstrator.
Card & Papercraft Tutorials
Please feel free to comment below, and ask away with any questions. You can also find me via the links below


Blog:

Online Store:

Stamping @ The Warren Craft Forum:

Email:
kim.tolton@googlemail.com

youTube


Pinterest:

Google +

Facebook:

Twittert:

Instagram:
@kim.tolton

LinkedIn:

Wednesday, 9 March 2016

Happy Happenings Bordering Blooms Petite Petals Bockeh Technique Card Stampin Up! UK

It is almost 2am as I type up this blog, so I am keeping it quick and simple today, as we are having major problems with our broadband and wireless services at the moment. Technician is back tomorrow  (umm ... make that later this-morning ha ha)to see what they can do.

Today is all about this super Bockeh Technique that is so on Trend right now.
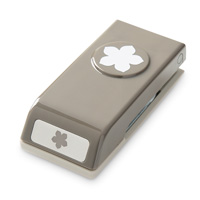
I have used a combination of the Bordering Blooms Stamp Set with the Petite Petals Stamp set and co-ordinating Punch, along with the Happy Happenings Stamp Set for the sentiments.

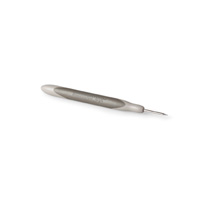
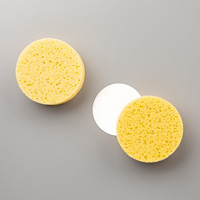
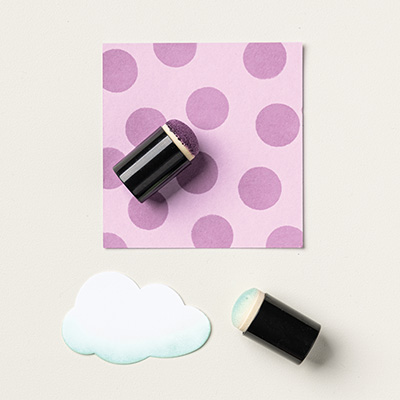
The Bockeh (white dots) were created using a combination of the Circles Decorative Mask from Stampin Up!, a sponge dauber and a rubber (eraser) on the end of a pencil, with White Craft Ink. The Sponged background was created using the following ink pads:
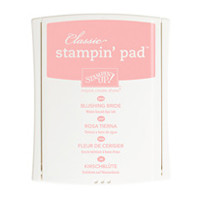
Pink Pirouette
Blushing Bride
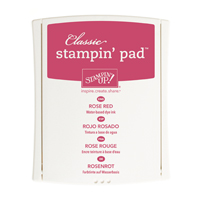
Rose Red
& the flowers were stamped and sponged using 

Rose Red ink Pad & Elegant Eggplant Ink Pad with a piece of Stampin Sponge.
The card was decorated simply with some Basic Rhinestones.

_________________

As you scroll down today's blog post, you will find :

  • icons of all the products used to create today's card - click on them to visit my 
  • online store;
  • A Video Tutorial
  • & a typed tutorial

Feel free to CASE any of my creative projects (Copy & Paste Everything)

Click on the icons below to view/order any of the products used in today's today's project


Table built using Product Table Builder by The Crafty Owl - Independent Stampin' Up! Demonstrator.

Watch The Video Below


How to Contact or Follow Me


Kim Tolton, Independent Stampin Up Demonstrator.
Card & Papercraft Tutorials
Please feel free to comment below, and ask away with any questions. You can also find me via the links below


Blog:

Online Store:

Stamping @ The Warren Craft Forum:

Email:
kim.tolton@googlemail.com

youTube


Pinterest:

Google +

Facebook:

Twittert:

Instagram:
@kim.tolton

LinkedIn:


Thursday, 3 March 2016

Suite Sayings Timeless Textures Valentines Card Stampin Up! UK

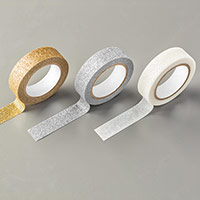
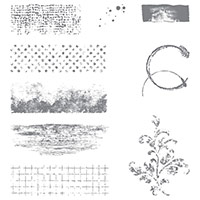
Today's card is a version of the Valentines Card I made for my Husband this year, using the Timeless Textures Stamp Set., A Super Collage Stamp Set, and I coupled this with the 2014 - 2016 In Colour Ink Pads and Cardstock, and a new Sale A Bration Freebie, the adhesive Glimmer Ribbon.
Some die cutting is required to give a sentiment label that pop's


________________________________________

As you scroll down today's blog post, you will find :

  • icons of all the products used to create today's card - click on them to visit my online store;
  • A Video Tutorial
  • & a typed tutorial
Feel free to CASE any of my creative projects (Copy & Paste Everything)

Click on the icons below to view/order any of the products used in today's tutor

Table built using Product Table Builder by The Crafty Owl - Independent Stampin' Up! Demonstrator.


Watch the Video Below

Tutorial
1.  Trim a piece of thicker Whisper White Cardstock to 30 x 15 cms, score the long side at 15 cms (6" Square card base); Fold & Burnish

2. Trim to size the following cardstock:

  • Whisper White 12 x 12 cms
  • Lost Lagoon 12.4 x 12.4 cms
  • Blackberry Bliss 12.8 x 12.8 cms
3.  Mat the Lost Lagoon Cardstock onto the Blackberry Bliss Cardstock and mat (layer) onto the card base.

Create a border around the Whisper White Cardstock using Crumb Cake ink pad, with 2nd Generation Stamping and the aged edge stamp from Timeless Textures

4.  Over stamp the border using Hello Honey Ink Pad and the Mug Ring like floral stamp; Then over-stam pthe border again using the floral flourish stamp and Lost Lagoon Ink Pad; and finally, using Blackberry bliss, stamp the small ink blotch stamp using 5th generation stamping

5.  Mat the stamped panel onto the card front & add some torn pieces of the Dazzling Diamonds adhesive glitter ribbon.


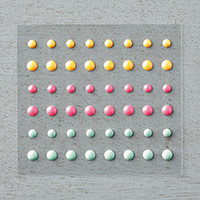
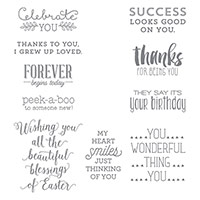
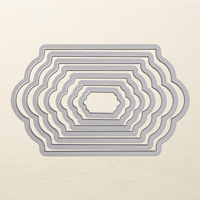
6.  Stamp your sentiment from the Suite Sayings Stamp Set, onto Whisper White Cardstock, and die cut using the best fitting Lots of Labels Framelets Die, and then die cut the next size up framelit with Lost Lagoon Cardstock. Add a few It's My Party Enamel Dots, and you are all done


How to Contact or Follow Me


Kim Tolton, Independent Stampin Up Demonstrator.
Card & Papercraft Tutorials
Please feel free to comment below, and ask away with any questions. You can also find me via the links below


Blog:

Online Store:

Stamping @ The Warren Craft Forum:

Email:
kim.tolton@googlemail.com

youTube


Pinterest:

Google +

Facebook:

Twittert:

Instagram:
@kim.tolton

LinkedIn: