google-site-verification: google70410e9e92d4fda2.html

Wednesday, 8 April 2015

Stamp Set Showcase 2015 Your Perfect Day Meets Gorgeous Grunge (5)

Today I have a fab technique for you using the Stampin Spritzer, Whisper White Cardstock and Gorgeous Grunge Stamp Set. This creates a textured background.
This has been diffused by covering the background with White Vellum cardstock, Stamped with the Congrats stamp from Your Perfect Day, and embellished with the Artisan Accessory Kit, and faux lace using the Petal Potpourri Stamp Set and  Punch bundle. and a little Linen Thread.


Begin by trimming your cardstock to size
Fill your Stampin Spritzer with water.

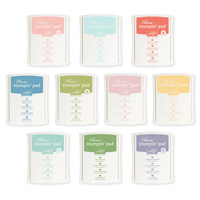
I used the large splodge stamp for this project, and used each of  the Subtles Classic Ink Pads to create the background.

Begin by inking up your stamp, then spritz the inked stamp with the water
Press the stamp down onto the Whisper White cardstock holding it down for around 30 seconds to allow the ink and water to seep into the cardstock.
Clean the stamp and ink up with the next colour and repeat the above. Ensure you overlap the stamps. You can repeat the process as much or as little as you like until you get the effect you are after.
This technique leaves a slightly raised texture on the cardstock once dry, similar to a strawberry birth mark.

Ensure the cardstock is completely dry before proceeding further.


Next, trim a piece of White Vellum to 0.5 cms smaller than the stamped cardstock.
Stamp the Congratulations stamp using Black Stazon Ink towards the bottom of the Vellum panel.
Place a Stampin Dimensional in each corner and mount on top of the stamped cardstock.
The stamp the Wedding Day stamp onto a piece of Whisper White Cardstock and trim to the same width as the Background panel.

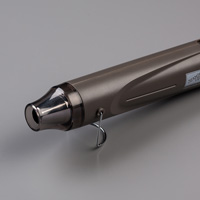
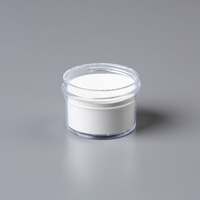
Now create your Faux Lace by stamping the Lacey flower from Petal Potpourri Stamp Set using Versamark onto White Vellum. Dust with White Embossing Powder and heat set using a Heat Tool. Repeat a couple more times.
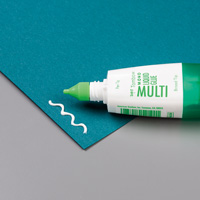
Once cooled cut 2 of the flowers in half and mount them, overlapping them, to the back of the WEDDING DAY label using Sticky Strip. Adhere the topper to the top of the card front.
Using Glue Dots, adhere some of the resin/button embellishments from the Artisan Accessory Kit, and add some loops of Linen Thread.
Finish by adding different sized Basic Rhinestones to the white-space in the centre section of the card front.
Use Stampin Dimensionals to adhere the card front onto your White Card Blank.

Let me know what you think of the background technique once you have had a go?
Have Fun!!!!

If you would like to become a member of my Pinterest Community Board where you will be able to post your own Stampin Up! Makes please email me via
If you have any questions on techniques, orders, products etc, please ask away by adding comments below, or you  contact me via:-

Email me: kim@stampinupatthewarren.com
Telephone / Text: 07759587004
OR


Alternatively, you can click on the product images below and it will take you straight to my online Store
Table built using Product Table Builder by The Crafty Owl - Independent Stampin' Up! Demonstrator.

Tuesday, 7 April 2015

Stamp Set Showcase 2015 Date Time Place Wedding Invitation

Today I have a super, super fast way of making stylish invitation for that Handmade Party, be it a wedding, Engagement, Anniversary, Birthday, Baby or Wedding Shower, or just about any celebration.

Simply change up the Cardstock and ink pads you use to co-ordinate the colour scheme of your event

As this project was for a Wedding Workshop, I have gone with Gold and White and black Stazon for the  DATE, TIME, PLACE

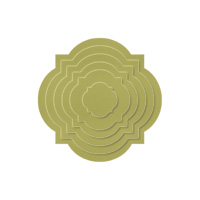
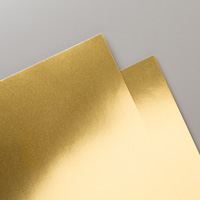
I have used the Stampin Up! Window Frame Framelits to die cut Gold Foil cardstock.
And Gold Encore ink and the flourish stamp from FOR THE NEW TWO stamp set in the 2015 Spring/Summer Catalogue to create the border around the edge of the Whisper White panel.


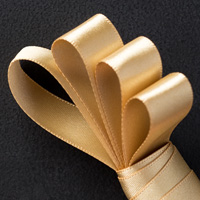
I finshed the invitation with a simple Gold Satin Bow.
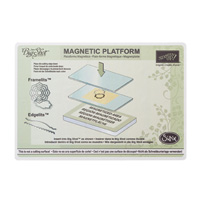
From start to finish this card took under 10 minutes to make, and is simple and clean in it's styling, which means it is really quick and easy to make in bulk numbers, and relatively cheap too as there is only a few products required (assuming you already have a Big Shot Die Cutting Machine, preferably with a Magnetic Platform.


If you would like to join my Pinterest community board where you will be able to post your own Stampin Up creations. Simply email me and I will add you to the board

If you would like to ask any questions on techniques or products, or anything else related to my blog posts, please feel free to ask away
Happy Stamping
Kim xxx

Contact me to order:
Telephone/Txt: 07759587004

Or Order Online 24/7
                                                                                               
Or Click on the image of the products used below and it will take you straight to my online store
Table built using Product Table Builder by The Crafty Owl - Independent Stampin' Up! Demonstrator.

Monday, 6 April 2015

Stamp Set Showcase 2015 Mini Treat Bag

Today I have a Mini Treat Bag for you that would be perfect for wedding showers / favours
Or any other celebration needing favour bags.

Here I used the Irresistible Emboss Resist Designer Series Paper left over from my Sale A Btation Freebies stash.

I used an ombre sponging technique using Wisteria Wonder Ink, and start colouring at the bottom of the bag and graduating the colour up to the top of the bag. Just keep adding ink at the bottom and graduating it upward using gentle circular motions with your sponge until you have the Emobre effect you are looking for.

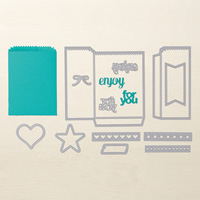
Instructions for making the bag using the Mini Treat Bag Thinlets Dies is on the packaging that comes with the product. They look fab made with Heat Embossed Vellum too as you get that little hint of the goodies inside!


There is a number of additional dies in the pack including a bow, a hearts border, a small tag and others. Here I used the hearts border die and then backed it with Marina Mist Designer Series Paper.


The embellishments come from the Artisan Accessory Kit in the Stampin Up! 2015 Spring Summer Catalogue

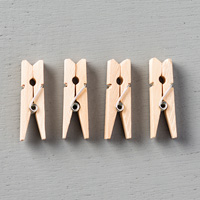
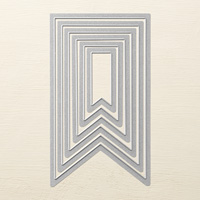
To this I added some Linen Thread and made some Doily Flowers using the Petal Potpourri  Bundle conssting of a flower stamp set and Co-ordinating Medalian Flower Punch. Add a Wooden Mini Clothespin to keep the bag firmly shut, and a couple of Banners die cut using the Banners Framelits and papers from the Subtles Designer Series Paper Stack.

I hope you will agree that this makes a very pretty Treat Bag that any bride to be or wedding guests would be happy to receive

If you would like to join my Pinterest community board where you will be able to post your own Stampin Up creations. Simply email me and I will add you to the board

If you would like to ask any questions on techniques or products, or anything else related to my blog posts, please feel free to ask away
Happy Stamping
Kim xxx

Contact me to order:
Telephone/Txt: 07759587004

Or Order Online 24/7
                                                                                               
Or Click on the image of the products used below and it will take you straight to my online store
Table built using Product Table Builder by The Crafty Owl - Independent Stampin' Up! Demonstrator.