Do I have a Treat for you today!
I won this delightful Baby Bear Stamp Set when I attended Stampin' Up!s On Stage Live Event in April. These Stampin Up! Events are super, and I get to meet up with some of my pals, that are also Demonstrators. There was nearly 400 of us at the event in April. Throughout the day, there are Prize Patrols, where you can win a product from the new annual catalogue. And I won this one!! To say I was over the moon, would be an understatement.

I have added the video here, as it is the easiest way for you to see the technique in action. And I have kept this card design very simple for that purpose. I have coupled the card with a stamp set that is still available in the Retiring Products section of my website.
The Stamp Set is called A Dozen Thoughts. Just click on the icon below to be transported to the stamp set in my online store.

Click on the icons below to view or order them via my online store
 |  |  |  |  |
 |  |  |  |  |
 |  |  |  |  |
 | 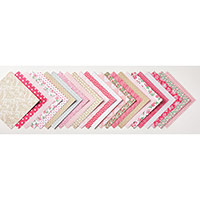 |
Table built using Product Table Builder by The Crafty Owl - Independent Stampin' Up! Demonstrator.
TUTORIAL
- Trim a piece of Thicker Whisper White Cardstock to 12.5 x 25 cms; Score at 12.5 cms; fold & Burnish
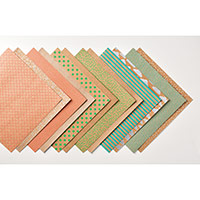
- Trim a piece of Lobr Blossoms Designer Series Paper to 12.1 x 12.1 cms and mat onto the card base
- Trim a piece of Whisper White Cardstock to 10 x 10 cms
- STEP ONE - Using the least defined stamp, ink up with the colour of your choice and stamp off some of the ink on the stamp onto a scrap of paper, and stamp onto the Whisper White Panel
- STEP TWO -Using the Medium defined stamp & ink it up with the same colour , and stamp over the first image, lining up using the head and foot
- STEP THREE - Ink up the most defined stamp with the same colour, and line up as before and stamp
- Mat onto a piece of co-ordinating cardstock measuring 10.4 x 10.4 cms & mount onto the card front using Stampin Dimensionals
- Stamp the Baby Boy or Baby Girl sentiment from the Dozen Thoughts Stamp Set onto a scrap of the Designer Series Paper using Archival Black ink pad (dries quickly)
- Create shallow banner ends using paper snips and attach to the card front
- Embellish to your hearts content
WATCH THE VIDEO

How to Contact or
Follow Me
Kim Tolton, Independent Stampin Up Demonstrator.
Card & Papercraft Tutorials
Please feel free to comment below, and ask away with any questions. You
can also find me via the links below
Blog:
Online Store:
Stamping @ The Warren Craft Forum:
Email:
kim.tolton@googlemail.com
youTube
Pinterest:
Google +
Facebook:
Twittert:
Instagram:
@kim.tolton
LinkedIn: