- As you scroll down today's
blog post, you will find :
- icons of all the products
used to create today's card - click on them to visit my online store;
- A Video Tutorial
- & a typed tutorial
Feel free to CASE any of my creative
projects (Copy & Paste Everything)
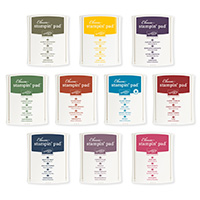
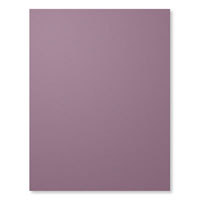
Click on the icons below to view/order
any of the products used in today's tutorial
 |  |  |  |  |  |  |
 |  |  |  |  |  |  |
 |  |  |  |
Table built using Product Table Builder by The Crafty Owl - Independent Stampin' Up! Demonstrator.
Watch the Video Below
Tutorial
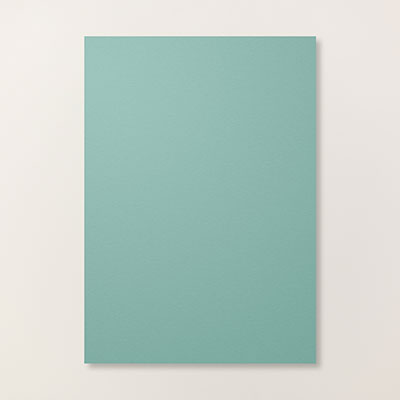
1. Trim a piece of Lost Lagoon Cardstock to 14.8x 10.5 cms
2. Trim a piece of Whisper White Cardstock to 14.4 x 10.1 cms
3. Using the aged edge stamp from the Timeless Textures Stamp Set & Sahara Sand Classic Ink Pad, Stamp a border around all 4 edges of the cardstock, stamping off the page slightly
4. Using the flourish stamp and Lost Lagoon Classic Ink Pad, stamp all four corners without re-inking the stamp (1st to 4th generation stamping technique)
5. Sponge the edges of the cardstock using a wedge of Stampin Sponge and Lost Lagoon Ink. This will intensify the frayed edges appearance
6. Trim a piece of Pool Party Glitter Ribbon to slightly longer than the width of the cardstock; run a strip of tear & Tape adhesive along one side, and attach to the card front, approximately a third of the way up the cardstock, wrapping the excess ribbon around the back of the card.
7. Using Tombow Adhesive, attach a Congratulations Expressions Natural Element above the ribbon.
8. Finish by typing or writing your Date/Time/Place details onto Whisper White Carstock measuring 14.4 x 10.1 cms & adhere to the back of the invitation
How to Contact or Follow Me

Kim Tolton,
Independent Stampin Up Demonstrator.
Card & Papercraft
Tutorials
Please feel free to
comment below, and ask away with any questions. You can also find me via the
links below
Blog:
Online Store:
Stamping @ The Warren
Craft Forum:
Email:
kim.tolton@googlemail.com
youTube
Pinterest:
Google +
Facebook:
Twittert:
Instagram:
@kim.tolton
LinkedIn: