
Day three of this weeks Designer Series Paper Stack Cards
And today, I am typing up this post much too late in the early hours of the evening, as we have been waiting for the Windows 10 Update to install on our PC's & Laptop!!
Plus I have the joyful job of getting my End of Year Accounts together (urghhhh!!!)
And I wonder if you too will see the optical illusion on this card??
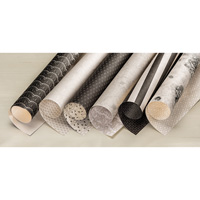
The Timeless Elegance DSP gives a depth and faux shadow, making the card look 3D
But in fact, this is a really quick and easy card to make,

And here are the products I used to make today's card
Click on the product icons to view them in more detail.
 |  |  |  |  |
 |  |  |  |  |
 |  |  |  |  |
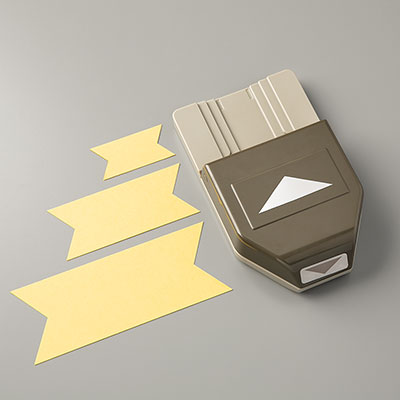 |  |  |
Table built using Product Table Builder by The Crafty Owl - Independent Stampin' Up! Demonstrator.

And here is how to make the Card
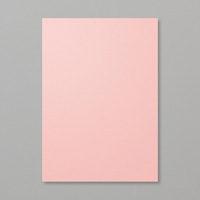
Begin by making your 6" square card base using the Thicker A4 Thicker Whisper White Cardstock.ext, trim a piece of Blushing Bride Cardstock to 14.4 x 14.4 cms and adhere to the front of your card base.
Next, trim a piece of Whisper White Cardstock to 14 x 14 cms and adhere on top of the Blushing Bride Panel then trim a piece of Striped Blushing Bride DSP to 13.6 x 13.6 cms& adhere this on top of the Whisper White Panel.
Adhere this to your card base.
Now trim a piece of Timeless Elegance DSP to 13.6x13.6cms and mat (layer) this onto a piece of Basic Black cardstock measuring 14 x 14 cms.
Mount this to the left hand side of your card base.
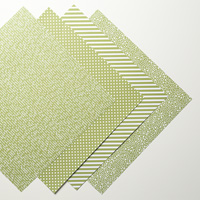
Then take a Dotty piece of Wisteria Wonder DSP to 9 x 9 cms and mat onto a piece of Blushing Bride cardstock measuring 9.6 x 9.6 cms and mount this panel onto the card base overlapping the previous panels.
Now for a little stamping.
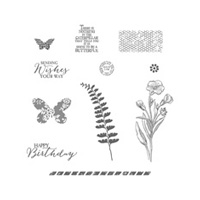
First, trim a strip of floral Blushing Bride DSP to 2.5 cms x 14 cms. Use the Banner Triple Punch to create banner ends to the sentiment label. Stamp your Birthday greeting with the Perfect Plum Classic Ink Pad.
Finally, stamp a couple of Butterflies from Papillon Potpourri using Versamark Ink Pad, then dust with White Embossing Powder and melt the powder using your Heat Tool. Apply Stampin Dimensionals to the reverse and mount on the lower third of the card front.
Punch out the butterflies using the Elegant Butterfly Punch, and mount onto the card front. Embellish the butterflies with a few Basic Rhinestones
And there you have it. Enjoy having a p;ay using this as your template and share onto my Pinterest Community Board or Facebook page (see side bar for more details.)
Kim xxx
x-x-x-x-x-x-x-x-x-x-x-x-x-x-x
Join my Pinterest community board,
where you can share your own Stampin Up Creations?
Follow the Pinterest Board on the left hand side
bar and I will send you an invitation to follow the Stampin Up! At The Warren
Community Pinterest Board
If you have any
questions on techniques or products, or Joining my Team/discussing the business
opportunities Stampin Up! Can offer
Contact Me
Or telephone/text
07759587004
Happy Stamping
Kim
xxx
Order your Craft
Supplies on line 24/7
No comments:
Post a Comment