
Here is another Birthday Card, this time, I am sharing the card my Grandson made for his friends Birthday Yesterday.
A very quick card to make as Alfie has ADD, so I needed to be prepped and ready to roll.
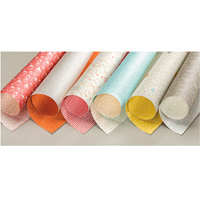
Thank goodness for the Designer Series Paper Share that I organised recently, as we were able to use the Sweet Li'l things DSP pack , leaving Alfie with a little stamping (the sentiment and & Birthday Cake from the Endless Birthday Wishes Stamp Set).
This is a perfect card for Kiddies to make because it is quick and simple, and with Stampin Up!s co-ordinated products, it was super easy to match the stamping with the decorative paper and cardstock.
AND ... Stampin Up! makes things even Easier but listing the colours that co-ordinate with all their DSP packs and Stacks!

Anyhow, here are the products used to create this card.
Click on the product icons to view/order them via my online store.
 |  |  |  |  |
 |  |  |  |  |
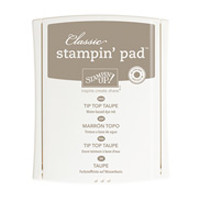 | 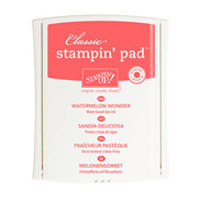 | 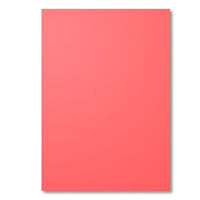 | 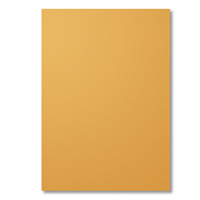 |
Table built using Product Table Builder by The Crafty Owl - Independent Stampin' Up! Demonstrator.

If you would like to replicate this card, here is how Alfie & I made his version.
Begin by making your A6 Card base using Watermelon Wonder Cardstock
Next, trim a piece of Sweet Li'l things DSP so it is 4,, shorter and narrower than the front of your card base.
Adhere the DSP to your card front using Fast Fuse Adhesive
Trim a piece os Watermelon Wonder to 2 cms wide by the width of your card base.
Mount all the tiny typeset words onto a single small acrylic block ensuring words overlap one another. And using tone on tone (i.e. Water Melon Wonder Classic Ink Pad) stamp the strip of cardstock so that it is covered, and adhere this to the lower third of your card front using Fast Fuse Adhesive.
Now for the remainder of the stamping.
Stamp the cake using the Watermelon Wonder Classic Ink Pad, onto a piece of Very Vanilla Cardstock & trim to size. Mat (layer) this onto a piece of Delightful Dijon Cardstock. Attach to the front of your cardbase, at an angle, using Stampin Dimensionals.
and finally, stamp the sentiments onto scraps of Very Vanilla cardstock using Tip Top Taupe Classic Ink Pad. and punch them out using the Washi Label Punch.
To make the label the correct length, re-insert the label through the top of the punch, guiding the cardstock between the cutting blade. and punch.
Rotate and repeat with the opposite end.
Mount these on the card front using Stampin Dimensionals.
And that is the job done
I hope you enjoy playing with this delightful stamp set, and designer series paper, and as always, I am happy for your to CASE away
(i.e. Copy & P Share Everything)
Happy Stamping
Kim xxx

Why not JOIN my
Pinterest Community Board?
Where you will
be able to post your own Stampin Up! Makes?
To Join, simply
follow my Community Pinterest Board
(see the left
hand side bar on this blog)
And I will sent you
an invitation to start pinning
If you have any
questions on techniques, orders, products,
OR
Joining my Team
as an Independent Stampin Up! Demonstrator
contact me via:-
Email me: kim@stampinupatthewarren.com
Text: 07759587004
Order Online 24/7
No comments:
Post a Comment