
Today is all about making quick, simple and very pretty cards in bulk. Perhaps for a wedding or similar special occasion, or perhaps you are a new Stampin Up! Demonstrator and feel a little daunted about making multiples of the same card because you are attending one of the On Stage Live Events that brings together Demonstrators from all over the US, and a few visiting Demonstrators from Europe and beyond

Making Swaps is an essential for the valuable networking that takes place at these events, and helps you begin to feel that you have a very LARGE second Family
Although there are 3 events that take place each year, The Telford Event in April, is the only one I attend. So catching up with friends I have made throughout the year via social media or local training events. Unfortunately, my disabilities make it more than a little challenging to travel abroad. But that's OK, because the events are recorded, and I can sit at home and watch the event in my own time. It isn't the same as attending in person, but it is a good alternative.
If you think you would like to join in, then contact me to have a chat about the benefits of joining my Team as a Demonstrator.
You will find my contact details at the bottom of today's blog-post.
_______________________________________________________________________
- As you scroll down today's
blog post, you will find :
- icons of all the products
used to create today's card - click on them to visit my online store;
- A Video Tutorial
- & a typed tutorial
Feel free to CASE any of my creative
projects (Copy & Paste Everything)

 |  |  |  |  |  |  |
 |  |  |  |  |  | |
 |  |  |  |  |  |  |
Table built using Product Table Builder by The Crafty Owl - Independent Stampin' Up! Demonstrator.

Watch the Video Below

Tutorial
The key with making cards in bulk, is to do one process at a time, e.g. all the scoring, all the cutting, all the stamping, making the toppers & finally the accessories
The instructions below, explains how to make two cards at a tine. Just multiply the proess by the amount of cards you need to make.
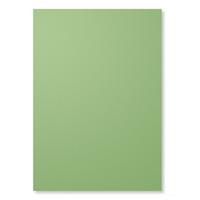
1. With the long side against the extension arm of your trimmer, Score the length of an A4 piece of Thicker Whisper White Cardstock at 10.5 cms; Rotate by 45 degrees & cut at 14.8 cms, and t and , trim the again at 14.8 cms, leaving you 2 scored A6 card bases; Fold & Burnish.
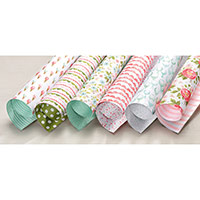
2. Select Two sheets of Birthday Bouquet Designer Series Papers & trim strips of DSP to 10.1 cms; rotate the papers by 45 degrees and trim the strips down to 10.0 cms.- this leaves you with panels to mount onto your card fronts. You can leave them as is, or you can add a co-ordinated strip by taking two pieces of the DSP and with the long side against the extension arm of your trimmer, trim off a section of the DSP at 2 cms - repeat with all the pieces of DSP. I find it easier to work on 4 card fronts at t a time.
2. Attach the wider piece of DSP to the card base, flip over the smaller strip to give you a strip of co-ordinating paper, and adhere this to the card front also. Repeat as you needs require.
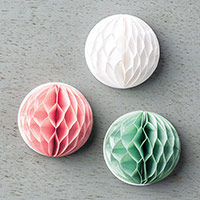
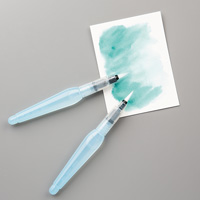
3. Stamp your sentiments into Whisper White Cardstock using Basic Black ink pad and the Birthday Blooms Stamp Set; Punch out the sentiments using a combination of the Elegant Label Punch & the Large Oval Punch.Using co-ordinating Cardstock, punch out Scallop Ovals (I used Pool Party, Mint Macaron & Blushing Bride). Add your Labels (toppers) to the card front & finish with a Honeycomb Embellishment on each card.


How to Contact or Follow Me
Kim Tolton,
Independent Stampin Up Demonstrator.
Card & Papercraft
Tutorials
Please feel free to
comment below, and ask away with any questions. You can also find me via the
links below
Blog:
Online Store:
Stamping @ The Warren
Craft Forum:
Email:
kim.tolton@googlemail.com
youTube
Pinterest:
Google +
Facebook:
Twittert:
Instagram:
@kim.tolton
LinkedIn:
No comments:
Post a Comment