
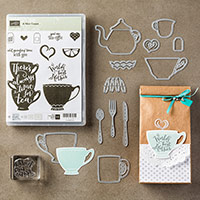
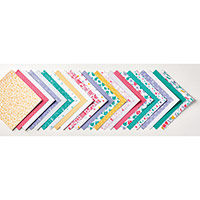
Today I have a super Retro Card for you using Stampin Up!s A Nice Cuppa suite of co-ordinating products, including Cups & Kettles Framelits Dies, and do-ordinating cardstock, designer series paper stack and some fabulous little charm embellishments. And today's card incorporates all of these goodies. As usual, there is a video that goes along side it, and the tutorial below gives you a step by step of each of the processes, so you can replicate this card, your way

________________________________________
As you scroll down
today's blog post, you will find :
·
icons of all the products used to create today's card - click on them to
visit my online store;
·
A Video Tutorial
·
& a typed tutorial
Feel free to CASE
any of my creative projects (Copy & Paste Everything)
 |  |  |  |  |
 |  |  |  |  |
 |  |  |  |  |
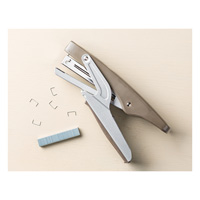 |  |  |  |  |
Table built using Product Table Builder by The Crafty Owl - Independent Stampin' Up! Demonstrator.
Click on the icons
below to view/order any of the products used in today's tutor
Watch the Video
Below
Tutorial
1. Trim a piece of Thicker Whisper White Cardstock to 21 x 14.8 cms; score the long side at 10.5 cms; fold and burnish
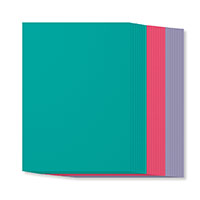
2. Trim a piece of Bermuda Bay Cardstock to 14.4 x 10.1 cms & mount onto your card front
3. Trim a piece of Have A Cuppa Designer Series Paper to 14 x 9.7 cms & mount on top of the Bermuda Bay cardstock
4. Trim a piece of Bermuda Bay Cardstock to 14.4 x 2.6 cms
5. Trim a piece of Contrasting Have A Cuppa Designer Series Paper (I used the reverse side of the paper) to 14 x 2 cms and mount onto the small strip of Cardstock, and then mount this off centre onto the card front.
6. Stamp the Tea Bag and the the Mothers Day Sentiment from the Have a Cuppa Stamp Set, onto a scrap of Whisper White Cardstock and Basic Black Ink Pad.
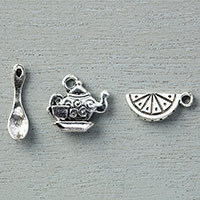
7. Die cut the Teabag and Teapot, and attach Stampin Dimensionals to the back of each.
8. Use a small piece of White Bakers Twine and staple it to the Teabag using the Hand Held Stapler; Mount the Teabag on the Kettle and both pieces onto your card front, and add a lemon slice charm using Glue Dots
2. Trim a piece of Bermuda Bay Cardstock to 14.4 x 10.1 cms & mount onto your card front
3. Trim a piece of Have A Cuppa Designer Series Paper to 14 x 9.7 cms & mount on top of the Bermuda Bay cardstock
4. Trim a piece of Bermuda Bay Cardstock to 14.4 x 2.6 cms
5. Trim a piece of Contrasting Have A Cuppa Designer Series Paper (I used the reverse side of the paper) to 14 x 2 cms and mount onto the small strip of Cardstock, and then mount this off centre onto the card front.
6. Stamp the Tea Bag and the the Mothers Day Sentiment from the Have a Cuppa Stamp Set, onto a scrap of Whisper White Cardstock and Basic Black Ink Pad.
7. Die cut the Teabag and Teapot, and attach Stampin Dimensionals to the back of each.
8. Use a small piece of White Bakers Twine and staple it to the Teabag using the Hand Held Stapler; Mount the Teabag on the Kettle and both pieces onto your card front, and add a lemon slice charm using Glue Dots

How to Contact or
Follow Me
Kim Tolton, Independent Stampin Up Demonstrator.
Card & Papercraft Tutorials
Please feel free to comment below, and ask away with any questions. You
can also find me via the links below
Blog:
Online Store:
Stamping @ The Warren Craft Forum:
Email:
kim.tolton@googlemail.com
youTube
Pinterest:
Google +
Facebook:
Twittert:
Instagram:
@kim.tolton
LinkedIn:
No comments:
Post a Comment