google-site-verification: google70410e9e92d4fda2.html

Saturday, 11 April 2015

Stamp Set Showcase 2015 Summer Silhouettes

Here is a more muted Summer Sillhouettes card compared to yesterdays bright floral card.

The difference is made by using the 2013 - 2015 In Colour Classic Ink Pads and cardstock
If I am doing a xard that can be used as a Sympathy Card, I generally go with monochrome colourschemes, or muted tones
So these In Colours worked perfectly.
Texture was added to the project using the Delicate Designs Embossing Folder (TIEF) in both Very Vanilla and Crumb Cake, and I used my Paper Snips to trim the dry embossing to a scallop edge.

The embellishments were kept simple also, with some Venetian Crochet Trim overlapping the dry embossed panels.


I used Very Vanilla cardstock for the card front, and mat (layered)  it onto Very Vanilla Cardstcock.
Remember to stamp your sentiment before layering up to ensure you get a crisp image. I used a stamp fromSsassy Salutations Stamp Set.
Create the background by randomly stamping the cardstock using first and second generation stamping technique. I generally begin with the lightest colour (Pistachio Pudding) and build up to the darkest ink pad (Baked Brown Sugar)

When layering up the cardstock, I like to use Stampin Dimensionals to give that 3D element to the card.

If you would like to join my Pinterest community board where you will be able to post your own Stampin Up creations. Simply email me and I will add you to the board

If you would like to ask any questions on techniques or products, or anything else related to my blog posts, please feel free to ask away
Happy Stamping
Kim xxx

Contact me to order:
Telephone/Txt: 07759587004

Or Order Online 24/7
                                                                                               

Or Click on the image of the products used below and it will take you straight to my online store
Table built using Product Table Builder by The Crafty Owl - Independent Stampin' Up! Demonstrator.

Friday, 10 April 2015

Stamp Set Showcase 2015 Stippled Blossoms Meets Summer Silhouettes

Good Morning Ladies and Gentlemen
As Promised, I have the tutorial for the card I gave you a sneak peak of  yesterday

This card uses one of Stampin Up!s most popular Two Step Stamp Sets

Stippled Blossoms

& I have coupled it with a great background builder stamp set

Summer Silhouettes

The key with two step stamp sets is co-ordination.
Stampin Up! has taken great care to create 4 main colour collections and 2 In Colour Collections
The collections mirror similar colours, but n different tones, and the tones of the neutrals collection is similar with regard to intensity and tone of colour.
This is where Stampin Up! excels - the colour co-ordination of everything ... inks, pens, cardstock, ribbons and trims, accessories etc.

This card combines the Subtles Collection with the Brights collection


Begin by trimming the Whisper White cardstock to size. 
You will need to allow for matting the Whisper White panel onto Pear Pizzazz cardstock (trimming it to 0.5 cm larger than the Whisper White panel)
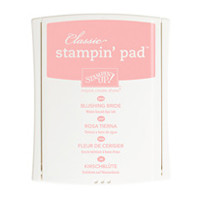
And then you will be matting this onto a piece of Blushing Bride cardstock (again, the cardstock should be 0.5 cm larger than the Pear Pizzazz panel)


Take the Whisper White panel, and you want the largest flower stamp with the least detail on it. Randomly stamp several of these onto the panel using Blushing Bride ink. Ensure you are also stamping off the page too to give that random feel to the pattern.
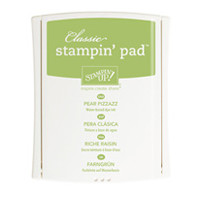
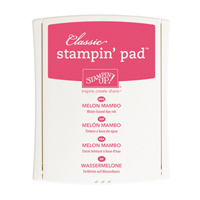
Next, take the more defined large flower stamp from the set, and ink it up with Melon Mambo ink.
Line up the stamp with the blushing bride images you have on the panel. It is not essential that they are exactly lined up, but you could use a Stamp A Ma Jig to line the stamps up exactly if you wish.
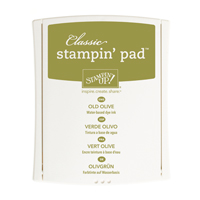
Next you are going to use the same 2 step process to stamp the large leaf stamp (least defined first with Pear Pizzazz ink and he more defined stamp with Old Olive ink)
Repeat the above processes using the small flower and small leaf, using the same inks. There is also a rosebud stamp in the set, but I didn't use that for this project as I didn't want to cram too much in and make the card look crowded.


Now for the Summer Silhouettes Stamp Set.

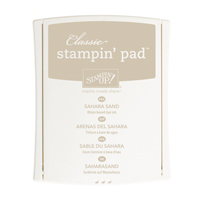
I used the Mosaic stamp from the set with Sahara Sand ink. 
I randomly over stamped the cardstock to give the impression that the flowers are growing through a trellis,

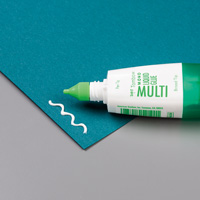
Before matting, wrap around some of the Sahara Sand  Lace Trim around the card front. I used a little Tombow Multi-Purpose Liquid Glue to adhere the 3 layers together as Tombow doesn't cause the cardstock to warp. You also get around 3-4 seconds to position the cardstock before the glue bonds.

Next is the die cutting and dry embossing.

Stamp your sentiment onto a piece of Whisper White cardstock using Chocolate Chip ink (I used a stamp from the Really Good Greetings Stamp Set)

Die cut this using the best fitting Window Frame Framelits
Then take the Fun Frames Textured Impressions Embossing Folder (TIEF) and line it up over your sentiment & dry emboss the  die cut using wither your Big Shot or your Texture Boutique.

Now die cut another Window Frame, but the size up, using Pear Pizzazz cardstock, and again use a TIEF to dry emboss this frame.Apply Stampin Dimensionals to the reverse of each label/frame and layer up, attach to your card front using Dimensionals again.
Add your embellishments, I used the Simply Pressed  Clay with the Buttons & Blossoms Clay Moulds to make the wee little flower. Attach using Fast Fuse Adhesive

And there you have it. Perfect for a special occassion card - now it is your turn ...

If you would like to join my Pinterest community board where you will be able to post your own Stampin Up creations. Simply email me and I will add you to the board
kim@stampinupatthewarren.com

If you would like to ask any questions on techniques or products, or anything else related to my blog posts, please feel free to ask away
Happy Stamping
Kim xxx

Contact me to order:
Telephone/Txt: 07759587004
Email: kim@stampinupatthewarren.com

Or Order Online 24/7
                                                                                               

Or Click on the image of the products used below and it will take you straight to my online store
Table built using Product Table Builder by The Crafty Owl - Independent Stampin' Up! Demonstrator.

Thursday, 9 April 2015

Stamp Set Showcase 2015 Stamping With Embossing Folders Technique & Weekly Deals

Today is a quick posting as I have a follow-up appointment at the hospital but I do have two fab things to share with you.

The first is this weeks 
WEEKLY DEALS


Look at all these amazing products available for this week only at great savings!
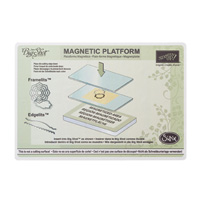
If you have invested in the Big shot but not yet purchased the Magnetic Platform, well now is the time to dig deep in that purse and purchase one at great savings!
And there are great savings on thinlets and framelits Dies to bump up your Die collection. Banners and Hexagonals are bang on rent tight now, so don't miss out on bagging those bargains.
I have some Summer Silhouette projects already lined up to share with you, so watch out for those, as after Gorgeous Grunge stamp set, Summer Sillhouettes is my second most used Background Builder Stamp Set .... I LOVE it!

And here is the card just to get your creative juices going
Make sure you watch for my blog tomorrow with the full tutorial

Simply  click on the product images below and it will take you straight to the products in  my online Store

Table built using Product Table Builder by The Crafty Owl - Independent Stampin' Up! Demonstrator.

x-x-x-x-x-x-x-x-x-x-x-x-x-x-x-x-x-x-x-x-x-x-x-x-x-x-x-x-x-x-x-x-

And now for that second promised goodie.
A new technique video From Stampin Up!
Showing the versatility of Embossing Folders as Stamp Sets
Make sure you take the time to watch it!! I guarantee you will love it!

Tomorrow will be business as usual with another card project. I will make sure it is one using the Summer Silhouettes Stamp Set .... the one I am thinking of combines the Summer Silhouettes stamp set with  Stippled Blossoms stamp set, a great two step stamp set!

And I am hoping to have a play when I get back from my hospital appointment to have a play with using embossing folders as stamps .... ( have used them in many ways, but not in the way this video shows)

If you have any questions on techniques, orders, products etc, please ask away by adding comments below, or contact me via:-

Telephone / Text: 07759587004
OR

If you would like to become a member of my Pinterest Community Board where you will be able to post your own Stampin Up! Makes please email me via