
Good Morning Ladies and Gentlemen
As Promised, I have the tutorial for the card I gave you a sneak peak of yesterday
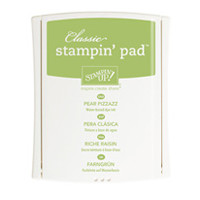
This card uses one of Stampin Up!s most popular Two Step Stamp Sets
Stippled Blossoms
& I have coupled it with a great background builder stamp set
Summer Silhouettes
The key with two step stamp sets is co-ordination.
Stampin Up! has taken great care to create 4 main colour collections and 2 In Colour Collections
The collections mirror similar colours, but n different tones, and the tones of the neutrals collection is similar with regard to intensity and tone of colour.
This is where Stampin Up! excels - the colour co-ordination of everything ... inks, pens, cardstock, ribbons and trims, accessories etc.
This card combines the Subtles Collection with the Brights collection

Begin by trimming the Whisper White cardstock to size.
You will need to allow for matting the Whisper White panel onto Pear Pizzazz cardstock (trimming it to 0.5 cm larger than the Whisper White panel)
And then you will be matting this onto a piece of Blushing Bride cardstock (again, the cardstock should be 0.5 cm larger than the Pear Pizzazz panel)
Take the Whisper White panel, and you want the largest flower stamp with the least detail on it. Randomly stamp several of these onto the panel using Blushing Bride ink. Ensure you are also stamping off the page too to give that random feel to the pattern.
Next, take the more defined large flower stamp from the set, and ink it up with Melon Mambo ink.
Line up the stamp with the blushing bride images you have on the panel. It is not essential that they are exactly lined up, but you could use a Stamp A Ma Jig to line the stamps up exactly if you wish.
Next you are going to use the same 2 step process to stamp the large leaf stamp (least defined first with Pear Pizzazz ink and he more defined stamp with Old Olive ink)
Repeat the above processes using the small flower and small leaf, using the same inks. There is also a rosebud stamp in the set, but I didn't use that for this project as I didn't want to cram too much in and make the card look crowded.

Now for the Summer Silhouettes Stamp Set.
I used the Mosaic stamp from the set with Sahara Sand ink.
I randomly over stamped the cardstock to give the impression that the flowers are growing through a trellis,
Before matting, wrap around some of the Sahara Sand Lace Trim around the card front. I used a little Tombow Multi-Purpose Liquid Glue to adhere the 3 layers together as Tombow doesn't cause the cardstock to warp. You also get around 3-4 seconds to position the cardstock before the glue bonds.
Next is the die cutting and dry embossing.
Stamp your sentiment onto a piece of Whisper White cardstock using Chocolate Chip ink (I used a stamp from the Really Good Greetings Stamp Set)
Then take the Fun Frames Textured Impressions Embossing Folder (TIEF) and line it up over your sentiment & dry emboss the die cut using wither your Big Shot or your Texture Boutique.
Now die cut another Window Frame, but the size up, using Pear Pizzazz cardstock, and again use a TIEF to dry emboss this frame.Apply Stampin Dimensionals to the reverse of each label/frame and layer up, attach to your card front using Dimensionals again.
Add your embellishments, I used the Simply Pressed Clay with the Buttons & Blossoms Clay Moulds to make the wee little flower. Attach using Fast Fuse Adhesive
And there you have it. Perfect for a special occassion card - now it is your turn ...

If you
would like to join my Pinterest community board where you will be able to post
your own Stampin Up creations. Simply email me and I will add you to the board
kim@stampinupatthewarren.com
If you would like
to ask any questions on techniques or products, or anything else related to my
blog posts, please feel free to ask away
Happy Stamping
Kim xxx
Contact me to
order:
Telephone/Txt:
07759587004
Email: kim@stampinupatthewarren.com
Or Order
Online 24/7
Or Click on the
image of the products used below and it will take you straight to my online
store
 |  |  |  |  |
 |  |  |  |  |
 |  |  |  |  |
 |  |  |  |  |
 |  | 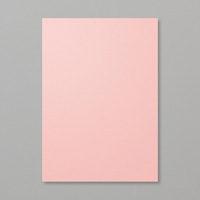 | 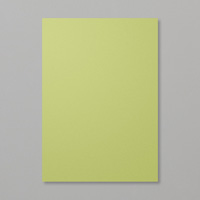 |
Table built using Product Table Builder by The Crafty Owl - Independent Stampin' Up! Demonstrator.
No comments:
Post a Comment