
I hope you are all having a Merry Monday?
And hope that you had a great weekend chilling, partying, crafting or enjoying what ever it is in life that makes you feel fulfilled
For me that means Home, Family, Friends and Crafting
Occasionally I manage to get all of the above in one go! But this weekend was all about Friends
Although, by the time we arrived home, I was stiff and sore, with my new spinal cord simulator having a real moan about sitting in the car for a long journey there and back, but I don't care about that, all I care about is that I had a great first trip out following my surgery earlier this month, and was surrounded by my many friends and acquaintances. Now
And that also includes finding a little time to say 'Hi' to a few of my friends via social media too, you guys are just as important, as those friends I get to meet in the flesh every so often!
So it seems fitting that the main stamp set I have chosen for todays card is called
WORLD OF DREAMS
Yes, it is one of the products on the Retiring Stamp Set list, so be sure to get your discounted stamp set before it is gone for good!
And here are the products I have used for today's card
Simply click on the icons and it will take you straight to the product in my online store.
 |  |  |  |  |
 |  |  |  |  |
 |  |  |  |  |
 |
Table built using Product Table Builder by The Crafty Owl - Independent Stampin' Up! Demonstrator.
Alternatively, just click on the retiring banner below


You will notice, if you are familiar with the Stampin Up! Catalogue, that the card in the photo's uses the Handcarved Background stamp, but on the product list above, it shows the Positively Chevron Stamp Set instead. The reason for this is a simple substitution as between the time of beginning and ending this blog post, the Handcarved Stamp Set had sold out .... gone forever! So I have provided you with a substitution
So when I suggest you order the retiring products you like quickly, there is a very good reason why ... because those retiring items are selling out fast, and the list of available discounted items gets smaller by the day!
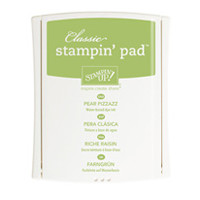
Anyway, I trimmed a piece of Whisper White cardstock and inked up the stamp in an atypical way. Instead of inking up the whole stamp using the flat ink pad, I uses just one edge to randomly ink the stamp so that not the entire stamp is present when you stamp down onto the cardstock. It creates a really interesting background. I used the Soft Sky Classic Ink Pad for this example
I then stamped the leaf stamp using Pear Pizzazz Classic Ink Pad, to over-stamp the background, and then cleaned the stamp and re-inked the stamp using Blushing Bride Classic Ink PAd to again, overstamp the background.
Finally, stamp your sentiment using Black Stazon Ink

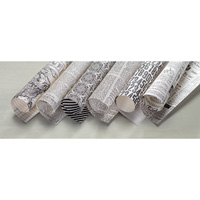
Trim a piece of Typeset Designer Series Paper (DSP) to cover the front of your White Card Black (trim it the DSP is 0.5 cm smaller than your card blank), and adhere this to your card front.
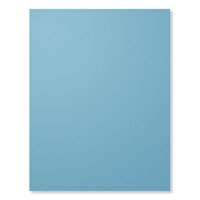
The stamped panel was then mat onto a piece of Marina Mist Cardstock and then adhered to the card blank - leaving a panel of Typeset DSP showing on the left hand side of the card front.
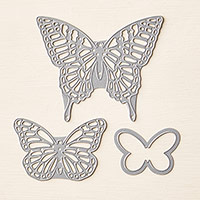
Now the Die Cutting. Using the medium sized Butterfly Thinlets Die and Gold Foil Sheet (roughly cut to size), run the die and Foil through your big shot.
Best results are achieved by doing 2 things. The first is using a Magnetic Platform to hold your cardstock and die in place during the Die Cutting Process, and secondly
Use the following 'sandwich' to get a perfect die cut every time, working from the bottom up:
Magnetic Platform
Cutting Plate
Tumble Dryer Sheet (the cheap ones are fine)
Gold foil,( gold Side facing UP)
Wax Paper (the stuff you use to wrap sarnies)
Butterfly Die, (cutting blade facing down)
Cutting Plate
Run this through your big shot in both directions a couple of times.
All the tiny pieces between the intricate die will either stick to the dryer sheet, or fall out when you tap the die cut.
Attach the butterfly to your Typeset Panel with a few Glue Dots and add a few rhinestones, and you are done!!
Good Job People .... now off you go and let me know how you get on with your own version of this card
Feel free to CASE away!

If you
would like to join my Pinterest community board where you will be able to post
your own Stampin Up creations. Simply email me and I will add you to the board
If you would like
to ask any questions on techniques or products, or anything else related to my
blog posts, please feel free to ask away
Happy Stamping
Kim xxx
Contact me to
order:
Telephone/Txt:
07759587004
Email: kim@stampinupatthewarren.com
Or Order
Online 24/7

No comments:
Post a Comment