
What a fab day I have had today. Both of my sons and my Daughter in law, and my 2 grandaughters plus my grandson here for the afternoon & evening.
We came together to celebrate our youngest grandaughters 2nd Birthday
Loved It in every way
And of course, when everyone arrived, I was working away in my workshop with the contents of my latest Stampin Up Order ready for next weeks blogs!
I am also preparing to do a presentation/teaching session at a local WI meeting so need to get all the prep work done.
And as is usually the way, the family came together ... helping me with my prep work, the grandchildren drawing and creating, and most of all chatting ... and loudly, with everyone wanting to tell their stories in the time we had.
Anyway ... for today I am sharing with you my most favourite Seasonal creation thus far, As you know, I love all things vintage. and I REALLY love the I Love Lace background stamp, and so I have coupled Good Greetings with this stamp set and also the Lovely Romance stamp set and co-ordinating Framelits
But the real star of todays card has to be this fab new ribbon from Stampin Up in the current Seasonal Catalogue, the Cherry Cobbler Sheer Cotton Ribbon. It has to be one of the best I have ever seen from Stampin Up ... stunning!
So here it is ...

Begin by making your card blank by trimming an A4 piece of Whisper White cardstock to 15cms x 30cms. Score the long side at 15cms, fold the score line and burnish with your bone folder,
Trim another piece of Whisper White cardstock to 14cms x 14cms
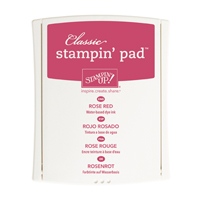
Brayer your Background starting from the lightest (Rose Red) and then Cherry Cobbler.
You are aiming for an ombre effect of dark to light shade.
If you haven't done any brayering previously, see my posts from the last couple of days for more detailed information on this technique.
I have also created a darker section the the middle of the cardstock vertically but tearing a piece of printer paper in half and sculpting it by tearing, to create an hour glass shape at the middle of the cardstock (i.e. place the copy paper mask one both vertical sides of the cardstock), and then re-brayer over the un-masked area again with cherry cobbler ink again).

Next comes the I Love Lace stamp. Over stamp your brayered cardstock with the I Love Lace stamp using Blackberry Bliss ink. Because Blackberry Bliss is a really intense ink, so ink off the stamp before stamping onto the cardstock.
Mount this panel onto Smokey Slate cardstock measuring 14,5cms x 14.5cms
Brayer a scrap of Whisper White cardstock with Rose Red ink
Over Stamp This with the Amazing You stamp from Lovely Romance using Cherry Cobbler ink
Get your Hearts & Stars Mask and white Craft Ink Pad with sponge dauber, and add white stars to this scrap of brayered cardstock, Wait for this to dry fully (craft ink takes a little longer to dry).
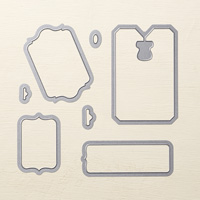
Die cut the Amazing You image using Chalk Talk framelits.
Wrap some of that luxurious Cherry Cobbler Sheer Cotton Ribbon and tie a big bow.
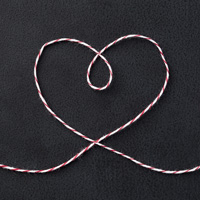
Punch a hole in the tag, and use wither some bakers twine, or, like me, some elasticated gold twine (from this years SAB freebies) and tie around the ribbon. Add Stampin Dimensionals to the reverse of the tag and mount onto the card blank.
Stamp the Merry Christmas stamp from Good Greetings stamp set in cherry cobbler onto a scrap of that rose red brayered cardstock Die cut using the Project Life Cards & Tags Framelits, add stampin Dimensionals to the reverse and attach to the top right of the card.
Add a few Basic Rhinestones and you have a beautiful & Luxurious card for your nearest and dearest

If you would like to ask any questions on techniques or products, or anything else related to my blog posts, please feel free to ask away
Happy Stamping
Kim xxx
Contact me to order:
Telephone/Txt: 07759587004
Email: kim@stampinupatthewarren.com
Or Order Online 24/7
Or Click on the image of the products used below and it will take you straight to my online store
 |  |  |  |  |
 |  |  |  |  |
 |  |  |  |  |
 |  |  |  |  |
 |  |  |  |  |
Table built using Product Table Builder by The Crafty Owl - Independent Stampin' Up! Demonstrator.


No comments:
Post a Comment