
Well today I have a tasty treat for you
hmmm ... humbugs
Perfect as a Hostess Gift
or to contain sweet treats for a special event or Christmas (yes, it is coming all too quickly)
Todays Perfect Pennants creation uses that fab Me & You stamp in combination with Chalk Talk framelits to make a pretty tag for a pretty and 'soft' version of a milk carton box
You may even see a little dry embossing in there too

Milk cartons are one of the easiest boxes to make, and can look so stunning made with decorative Vellum or Designer Series Papers
Begin by trimming a piece of Fancy Foil Designer Vellum (silver) to 10" x 11"
Get out your Scoring Tool (imperial plate) and with the long side at the top score at 2 1/2"; 5"; 7 1/2" & 10"
Rotate the vellun 90 degrees so the short side is at the top of the scoring tool and score at 1 3/4"; 7 14/16"; & 9 1/2"
Gently fold and burnish all score lines.
Turn the cardstock so the long side is at the top with the narrow score line at the top.
You are now going to cut up from the bottom (i.e. the bottom edge nearest to you) and you are going to cut up to the 1st score line on all for vertical score lines
You also need to trim out the bottom left corner at the first horizontal score line
Apply a single piece of Sticky Strip to the left hand narrow strip nearest the fold line
You can now fold over the box to stick the opposite vertical edge onto the end with sticky strip
The edge you have had closest to you, forms the base of the box. Fold up the tabs, and apply a little Sticky Strip to the bottom most tab and adhere to the tab above to secure the base of the box.fill up the box with your goodies.
Next you need to gently fold the sides of the box in so that the top of the box closes like a ridge
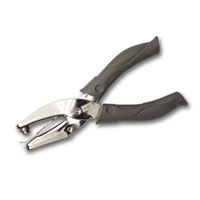
you need to punch a hole at each end of the box top ensuring you punch through all 4 layers of vellum at each end
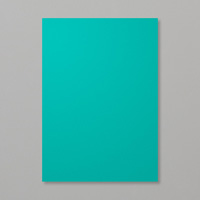
Thread Though some Bermuda Bay 3/8" Taffeta ribbon and tie a bow
If this is your first ever box, stick with it, as it gets easier with each make!
The hardest part is now out of the way.

Now to make your tag
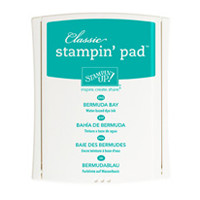
Stamp your You & Me stamp into Whisper White cardstock using Bermuda Bay ink
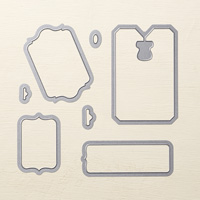
Die cut this using the smaller label in the Chalk Talk Framelits
Sponge the edges of the label using Bermuda Bay ink
Apply stampin dimensionals to the reverse of this tag
Next you need to die cart the medium sized label in the Chalk Talk Framelits, using Bermuda Bay cardstock.
Dry emboss this piece of cardstock using the Delicate Designs Folder (TIEF)
Punch a hole at the top of the tag.
Mount the You & Me tag on top of the dry embossed tag.
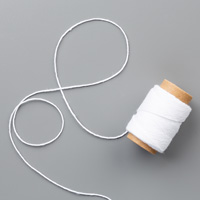
Threat through a piece of Whisper White Bakers Twine and tie around the ribbon at the top of the box.

And there you have it ...
If you would like to ask any questions on techniques or products, or anything else related to my blog posts, please feel free to ask away
Happy Stamping
Kim xxx
Contact me to order:
Telephone/Txt: 07759587004
Email: stampinupatthewarren@hotmail.co.uk
Or Order Online 24/7
Or Click on the image of the products used below and it will take you straight to my online store
 |  |  |  |  |
 |  |  |  |  |
 |  |  |  |  |
 |  |  |  |  |
 |
Table built using Product Table Builder by The Crafty Owl - Independent Stampin' Up! Demonstrator.


No comments:
Post a Comment