
WALK IN THE WILD STAMP SET
Welcome back for another day, and I hope you have all had a good one?
Today is the first of 3 gift packaging ideas. And do not get hung up on the actual gift packaging, it is more to do with showing you how Kraft card ... yes, brown, plain, recycled Kraft card can become an elegant vehicle for your gifts.
Me personally, I LOVE Kraft Card and always have. It is thicker than most cardstock, which makes it perfect for gift packaging. You will find that different coloured cardstock has different thicknesses. Black cardstock is generally thicker than many (but not as thick as Kraft), and crumb cake is 'softer' but works well with certain typles of gift boxes that have a re-inforced design.
Next time you get your craft supplies out, have a feel for yourself, and familiarise yourself with the differences, so you can choose the tight cardstock colour for the job at hand.
But back to todays project, and today is all about Embossing
Heat embossing to be specific.

If you follow my blog, you will know that I often use dry embossing in projects, but what is the difference?
There are quite a few techniques for embossing
Dry embossing (using an embossing folder and a Big Shot or Texture Boutique machine)
Heat embossing (using an adhesive with some melting compound you heat up to create a raised pattern on the cardstock)
Emboss Resist - there are different techniques that come into this category, and can include the use of wax paper, wax crayons, heat embossing with a sponging / distressing technique.
There are also variation on these techniques.

Today I am using this heart box template which is perfect for for luxury chocolates, jewellery, and other lovely things.
You could also use one of the flat packed boxes that you can purchase from Stampin Up (see the products list at the end of this post(.
Die cut or cut out your box template. Fold all score lines and burnish with a bone folder.
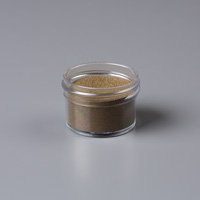
Flatten the box again, and get out your your Versamark pad, and you also need some gold embossing powder, and a heat tool

Versamark is a slow drying clear ink. You use it just like a normal ink pad, but then sprinkle over an embossing powder (Stampin Up has 13 different colours to choose from, including a sparkling white. So there will be something for every occasion.
So, with your box template flat on thetable, ink up the stamp of your choice, I am using Endless Wishes stamp set. Ink over the visible sides of the box, You will need to re-ink the stamp with Versamark before each stamping.
Sprinkle over the Gold embossing Powder, gently shake off the excess, and then give one quick rap on the back of the cardstock, but no more or you will knock off most of the powder.
Get your Heat Tool, turn it on to the hot setting and let it heat up for a few seconds, and then hold to tool a couple of centimeters from your stamped card, do not waggle the heat tool, let the heat tool melt the embssing podwer and slowly work your way over the box until the powder has all melted.
And remember, practice makes perfect, so don't beat yourself up if you don't get it right straight away.
Fold up your box, and stick if needed.
Now for your tags.
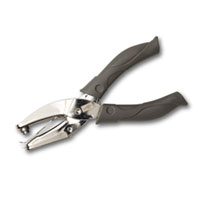
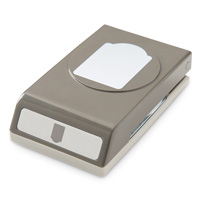
Use the pheasant stamp in the WALK IN THE WILD stamp set and stamp on to a piece of Whisper White cardstock using Soft Suede ink. Punch out the tag using Note Tag Punch.Stamp this tag with the snowflake from the Endless Wishes stamp set. Punch out two more using Kraft Card, To make a layered tag, you need to cut the first punched Kraft tag in half on the vertical, and the other on the horizontal. Adhere the corresponding pieces to the stamps tag, leaving a couple of millimetres of the Kraft card showing around the edge of the stamped tag.
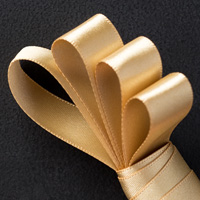
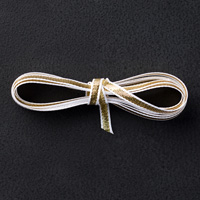
Punch out another 2 wishper white Note Tags, and stamp on your sentiment from the Endless Wishes stamp set. Punch a hole through all 3 tags. Tie a big bow using the Gold 5/8" Satin Ribbon. Thread a piece of gold 3/8" ribbon and tie around the wider satin ribbon.

And there you have it ...
If you have any questions on
techniques, orders, products etc, please ask away by adding comments below, or
you contact me via:-
Email me: kim@stampinupatthewarren.com
Telephone / Text: 07759587004
OR
Order Online: http://www.stampinupatthewarren.stampinup.net
Alternatively, you can click on the
product images below and it will take you straight to my online shop


 |  |  |  |  |
 |  |  |  |  |
 |  |  |  |  |
 |  |
Table built using Product Table Builder by The Crafty Owl - Independent Stampin' Up! Demonstrator.
No comments:
Post a Comment