
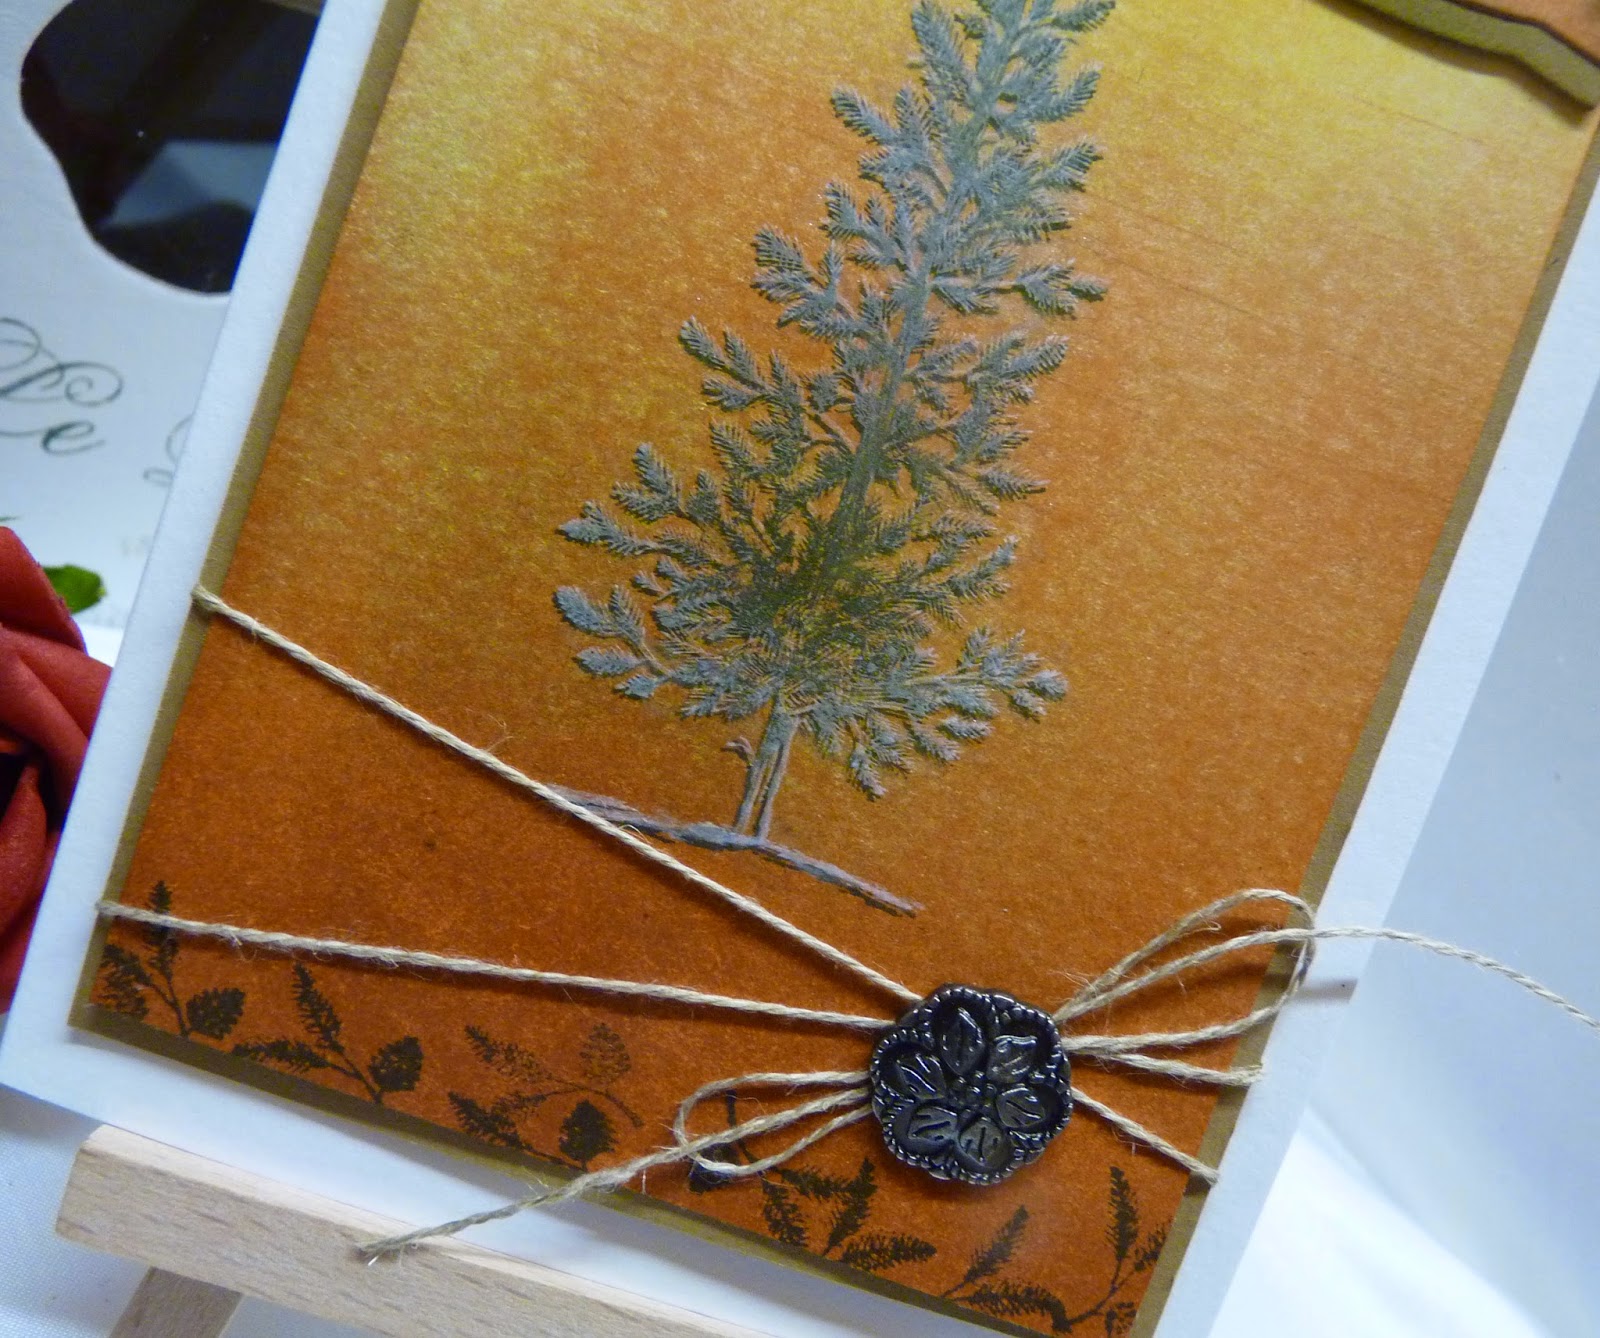
Today I am showcasing another of my autumnal cards. If you change the inks used to brayer the background, you could easily make this into a Christmas card.
You are going to need a Stamp A Ma Jig tool if you want to try the technique I have used today to give the tree a touch of frost.
It isn't expensive and I use mine regularly when I want to line stamps up perfectly. A great tool to use in conjunction with masking techniques too, allowing you to line up images you want in the background.
Let me know how you are getting along with your brayering practice this week. I would love to know if I have converted you to using this technique to create your own backgrounds?

As usual, you need to create your A6 card blank (if you don't already have one) by trimming a piece of Whisper White cardstock to 14.5cms x 21cms
Score the long side at 10.5cms, fold along the score line and burnish with your bone folder to create a nice crisp crease. Be sure to always fold away from the debossed (indented) side of the score line to prevent the cardstock from cracking
Trim a piece of Whisper White cardstock to 13.7cms x 9.5cms
Now for the brayering
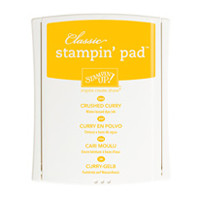
Ink up your brayer with crushed curry ink
Before using the brayer on your trimmed cardstock, roll it over a piece of scrap cardstock or copy paper to remove a little of the ink. This will help prevent lines and blotches on the cardstock, and gives a more subtle ombre effect. Unlike other project this week, you are aiming for a darker colour at the bottom and the lighter at the top of the cardstock. you may need to ink up your brayer a few times to get the intensity of colour you are after, but do not be tempted to omit rolling off some of the ink onto scrap/copy paper.
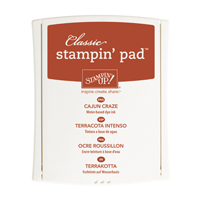
Once you are happy with the shade of colour you have on the cardstock, you need to then repeat the above and apply Cajun Craze ink, but only to the bottom two thirds of the cardstock, so the Crushed Curry still shines through like a sunset in the distance with that warm glow shining through.
Now for the stamping. Begin by Stamping the large conifer from LOVELY AS A TREE stamp set in Garden Green ink
Then take the small conifer spray in the same stamp set, and using Garden Green ink again, stamp a few sprays to the bottom of the cardstock.
Now take your stamp-a-ma-jig.
You need to place the image sheet on a flat surface, and line up the black tool with the top left corner, be sure to have the rough side upper most. Slot the Tree stamp (will with residual ink on the tree stamp) into the same place and stamp down onto the transfer sheet. You will now have a faint image of your tree on the transfer sheet.
Place the transfer sheet over the top of your stamped image on the brayered cardstock. Offset this by 1 or 2 milimetres/ Place the tool around the top left corner of the cardstock being careful not to move the image sheet. Carefully remove the image sheet, and ink your stamp with white craft ink and slot the stamp into the top left of the tool (do
not move the tool) and stamp down. You should now have the appearance of frost or snow over your originally stamped tree.Wrap some Linen Threat around the bottom of the cardstock, and use your piercing tool to make a hole to poke through an Antique brad
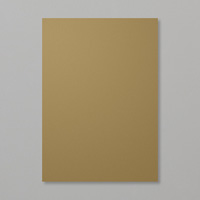
Mount this panel onto a piece Soft Suede cardstock measuring 4.3cms x 10cms
Apply Stampin Dimensionals to the back of the panel and mount onto the card blank.

Now for the finishing touches.
Stamp the Hugs & Kisses stamp onto a piece of left over cardstock from your brayering
Die cut using the Project Life Cards & Labels framelits.
Cut 2 more labels/tags from Suede cardstock
Cut one of the soft suede labels in half on the vertical, and the other in half on the horizontal
Using a little Tombow MP Glue, adhere the pieces of label to the corresponding sides of the label. Apply Stampin Dimensionals to the reverse and mount onto the top left corner of your card.
Add a few basic Rhinestones and you are finished! Well done!
If you would like to ask any questions on techniques or products, or anything else related to my blog posts, please feel free to ask away
Happy Stamping
Kim xxx
Contact me to order:
Telephone/Txt: 07759587004
Email: stampinupatthewarren@hotmail.co.uk
Or Order Online 24/7
Or Click on the image of the products used below and it will take you straight to my online store
 |  |  |  |  |
 |  |  |  |  |
 |  |  |  |  |
 |  |  |  |  |
 |
Table built using Product Table Builder by The Crafty Owl - Independent Stampin' Up! Demonstrator.


No comments:
Post a Comment