
Good Morning People & Welcome to another weeks Stamp Set Challenge and this week I will be using:
GORGEOUS GRUNGE
Now I have to Fezz up, as this week dies have a few retired or Limited Edition stamp sets in there.
There is a good reason, I wanted to share with you some of the make and takes that complete novices to cardmaking, made at last weekends Craft Fair.
Now the additional challenge is that I left behind most of the stamp sets I had put out to bring, ao only had a few with me, I also forgot the punches ribbons and trims (it was hectic and I was still sewing up the bottoms on my scottie dog door stops at 1 in the morning).
Add to this, that I left my essential medication at home, having not taken my meds that morning!! Total cloth head!
Anyway, my hubby came to the rescue and came home for my meds, and picked up a load of stamp sets, and a few punches. But bless him, he doesn't have a clue about retired stamp sets, he just went round the craft room picking up sets he liked the look of.
And whilst I had remembered my Craft Kit & Tools, and my stamp carousel, I was missing my finger daubers, sponges and brayer .... hmmmm
So I ended up playing with what I had, and that something was baby wipes and I was amazed at some of the backgrounds we created using just baby wipes, re-inkers and whisper white cardstock.
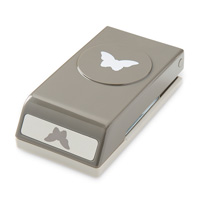
However, you can replicate this card by using butterfly Stamps from Papillon Potpouri Stamp Set

Begin by making a card blank from Soft Suede cardstock, trimming an A4 sheet to 14.8cms x 21cms and score the long side at 10.5cms. Fold the score line and burnish with a bone folder. Put to one side
Then trim a piece of Whisper White cardstock to 14.3cms x 10cms

Now for that baby wipe technique
Take a baby wipe and fold it up lengthwise to make a sausage, fold this over in half too create a 'handle' to hold. If the babywipe is from the bottom of the pack, you may need to wring it out as you do not want the wipe to be too wet or it will cause the cardstock to warp.
Slect 3 different re-inkers, I used:
Crips Cantaloupe
Calypso Coral
So Saffron
Put a couple of drops of each reinker on the baby wipe, Don't mix the colours together at this point, you want them next to one another.
Now you need to decide on the pattern ... do you want a diagonal pattern, a plaid pattern, a swirl pattern or a could like pattern.
Todays example shows a striped plaid effect.
Swipe stripes on the diagonal, criss-crossing them as you go. Leave some areas with white peeking through.
DO NOT THROW AWAY YOUR BABY WIPE
You should get a further two or three pieces of cardstock backgrounds made, with each one diluting in colour, the last layer resembles a sponged background.
If the cardstock becomes damp, just leave it to dry for 5 minutes or so.
Now to get stamping ith Gorgeous Grunge
Take the small slodge stamp in the set and using Soft Suede, randomly stamp the cardstock.
Next yse the narrow lines stamp, and randomly stamp this in Soft Suede creating grid lines
Finally, take the fine splatter stamp and using Calypso Coral ink, randomly stamp the cardstock.

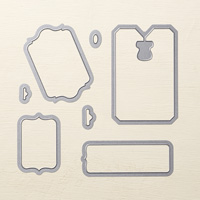
Take one of the other pieces of cardstock that you have created a background on, stamp your chosen butterflies using Soft Suede ink. Cut or punch them out (Pappilon Potpouri comes with 2 co-ordinating punched - Elegant Butterfly & Bitty Butterfly).
Then stamp your sentiment in Soft Suede ink onto Whisper White cardstock & punch out using the Extra Large Oval Punch.
Use the residual ink on your babywipe to ink the edges of all your cardstock.
Adhere the sentiment and butterflies using a combination of Stampin Dimensionals and Glue Dots.
Add some basic Rhinestones and you are done for today
Happy Stamping
Kim xxx
Contact me to
order:
Telephone/Txt:
07759587004
Or Order
Online 24/7
Or Click on the
image of the products used below and it will take you straight to my online store
 |  |  |  |  |
 |  |  |  |  |
 |  |  |  |  |
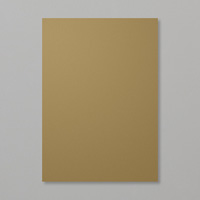 | 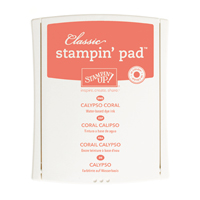 |  |  |  |
Table built using Product Table Builder by The Crafty Owl - Independent Stampin' Up! Demonstrator.


No comments:
Post a Comment