Day two of this weeks Stamp Set Showcase
WETLANDS
Well, I had lots of fun with some messy play today and it involved Shaving Foam!
Yes, you heard me .... Shaving Foam ... he he
This is a technique my friend and co-Team member, Pippa Jones, over at Paper Piskies, demonstrated at one of our Team meetings recently. On that occasion the technique was used to create a 'Beneath the Sea' background.
This technique works best with the cheapest of cheap staving FOAM ... do not use shaving gel as the technique will not work.
You will also need two pieces of glossy photo paper.
Begin by trimming two pieces of glossy cardstock (glossy photo paper) to 12cms x 12cms
Squirt a nice blob of shaving foam on the glossy side of one of the pieces of glossy cardstock, round the corners.
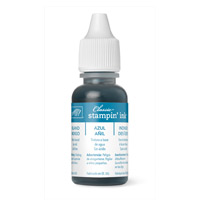
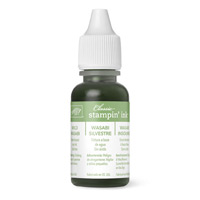
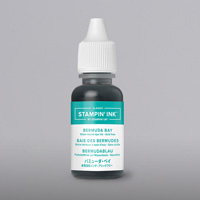
Next get some of your re-inkers and select three colours for your sky/grass and place 3 drops from each re-inker randomly on top of the foam.
Next, put on some latex gloves to protect your fingers/finger nails from getting stained.
Here comes the messy bit ... Use a wooden skewer or wooden spatula/lolly stick and start swirling and flicking the ink until you are happy with the blending.
Now get your second piece of glossy cardstock, and with the glossy side down, place it on top of the foam and press down (the foam will squig out a bit)
Next peel off the top piece of glossy cardstock and wipe off all the Foam with kitchen towel
You will be left with a unique background. You can them overstamp this panel with the Goose and Grass stamps.
Stamp your sentiment on a piece of Whisper White cardstock & die cut using the Project Life Cards & Labels Die set
Cut two more from Kraft card to make the layer for your sentiment
Cut one in half lengthays (on the horizontal plane) and the other in the middle vertically. Use Tombow multipurpose glue to adhere the corresponding pieces behind the sentiment leaving a hint of the Kraft Card layer visible.
To get the swirl on the marbled effect on the sentiment,, well I keep all my old used and abused finger daubers and this is what I use for this technique. In this case I inked up the old dauber with Lost lagoon and inked off on some waste card/paper so just a hint of colour was left on the dauber, and use small circling motions over the cardstock.
Now for the layering - you will need to round the corners of all layers and the edges of your 6" x 6" card blank..
Mat one - Kraft cardstock 12.5cms x 12.5cms
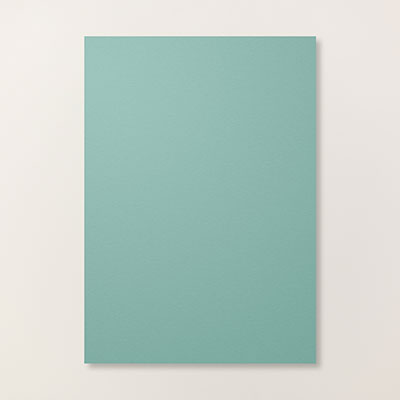
Mat Two - Lost Lagoon cardstock 12cms x 13cms
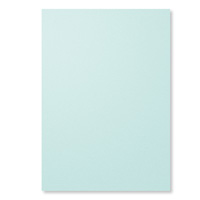
Mat three - Soft Sky 14.5cms x 14.5cms
Before Layering using Stampin Dimensionals, you need to add a strip of frayed Burlap ribbon
Adhere the layered card onto your card blank
Happy Stamping
Kim xxx
Table built using Product Table Builder by The Crafty Owl - Independent Stampin' Up! Demonstrator.
Contact us for further information on our Handmade Greetings Cards, Wedding Stationary and Gift Packaging Service
Telephone: 08432896848
Text@ 07759587004
Or Shop Online for all your papercraft supplies 24/7






No comments:
Post a Comment