
Now before we get to Day two of the
WETLANDS
Stamp Set Showcase
I have an apology to make.
I do try to take photographs that are reasonably pleasing to the eye and show off the projects we make with a little finesse. BUT today is not going to be one of my best photographically.
I ordered some small Kraft bags with twisted handles as we have a large number of Birthdays, Anniversaries etc this month, and I prefer to stamp my own packaging. However, when the bags arrives, they were not as 'small' as I thought, so the bag is higher than my photography board. There is some hastily erected Foam board to the back of the booth, but you will see glimpses of my workroom in the background too.
So now you know to make sure you order a bag with dimensions, and not just 'small' if you want a small bag. But in the end it worked for the gift we are putting inside the bag.
I have also tried to keep the items you need to make this weeks projects almost the same to prevent you from having to by too much in the way of new craft supplies.

This project begins with the bag.I stamped one Blue goose in the bottom left of the bag, surrounded by green grasses. Create a border along the bottom of the bag using the Grass stamp, Then using Mossy Meadow ink randomly stamp the goose stamp all over the bag, leaving space in between as you will then need to randomly stamp the bag with the grass stamp. Put to one side.

Nest is the tag. Die cut the largest card die in the Project Life cards & labels Die set in Lost Lagoon Blue ink. Whilst you are there, you also need to die cut from Kraft card one of the smallest cards in the Die pack.
Next you need to dry emboss the blue card using the woodgrain Textured Impressions Embossing Folder (TIEF). Now take your die cut Kraft card and stamp it with the goose stamp in Lost Lagoon, and then at the bottom edge of the card, use Mossy Meadow green ink to stamp the grass using first & second generation stamping technique.
Get your Tea Doily and stick it to the back of the Craft card using Tombow multipurpose glue, leaving the frilly edges peeking afound the edges of the card (except for the bottom edge of the card). Adhere a piece of frayed Burlap ribbon to the bottom of the Craft card,
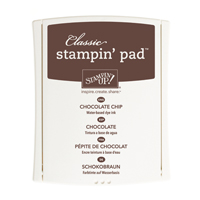
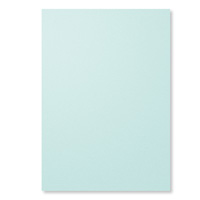
Stamp your sentiment onto Soft Sky cardstock using Chocolate Chip ink. Die cut out with the label die from the Project Life set. And just like yesterdays project, you need to cut an additional 2 labels from Kraft card and cut one in halp vertically, and the other needs to be cut horizontally. Stick the corresponding pieces to the back of the sentiment panel using Tombow.Use Stampin Dimensionals to adhere the Kraft card to the upper section of the woddgrain embossed card.
Next use Dimensionals to adhere the sentiment to the bottom of the Woodgrain card.
Pop a couple of Dimensionals to the sentiment panel.
Now you could just punch a couple of holes in the tag and add ribbon/trim, and that would look grand I'm sure, but I wanted something more ,,, so I got our my scallop tag topper punch. Just take a scrap piece of Kraft card 5cms wide and about 8cms tall, punch the tag top. All it then needs is a bit of Tombow glue to adhere it the the reverse side of the tag., add a little Venetian crochet trim to tie the tag to the bag.

Happy Stamping
Kim xxx
Contact us for further information on our Handmade Greetings Cards, Wedding Stationary and Gift Packaging Service
 |  |  |  |  |
 |  |  |  |  |
 |  |  |  |  |
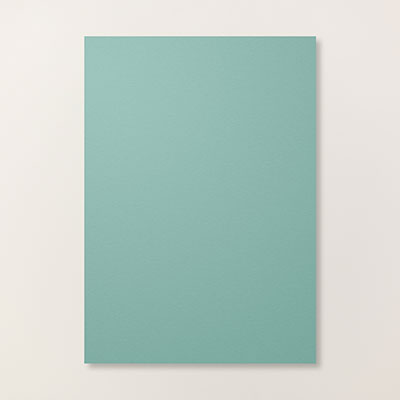 | 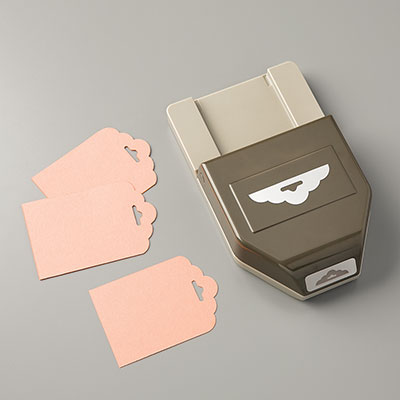 |  |  |  |
Table built using Product Table Builder by The Crafty Owl - Independent Stampin' Up! Demonstrator.
e="clear: both; text-align: center;">
Telephone: 08432896848
Text@ 07759587004
Or Shop Online for all your papercraft supplies 24/7


No comments:
Post a Comment