
Good Day to you all, although I am rather late in the day getting this out!
It has been a bsusy day with 2 of our Grandchildren here for the day with Son number one, and son numner two popped by with a load of wood for us to keep the wood burner working on the cold evenings. My hubby is at a rabbit show leaving me to feed and water all the livestock, which takes me hours as I am a wheelchair user and can get up for short spells, but sweeping the floor in crutches or from the wheelchair is far from ideal lol ... so it was 1pm before I was finished doing the jobs my hubby normally performs in less than 30 minutes ha ha ... but I LOVE life, LOVE my family and LOVE my home AND my business that I run from home,. So trust me when I say 'I am not complaining' he he ... what would life be if not totally fulfilled. even f those things are simple and inexpensive.
Card Making is one of the activities that allow me to forget my disabilities and pain, as I become totally absorbed in what I do ... Card Making and Fabric Crafts are what I truly love doing!
And so here is the penultimate project from this weeks Stamp Set Showcase
WHITE CHRISTMAS
And today I have this cute little tag which co-ordinates with tomorrows gift idea.

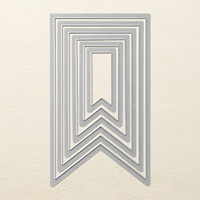
Begin by Die cutting the largest Banner Framelit from Kraft cardstock.
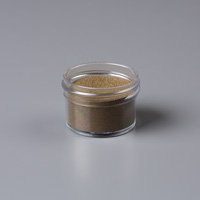
Stamp the tree, snowfall & snowman using Versamark, dust with White Embossing Powder and heat set using your Heat Tool.
Now you need to create some contrast for the Trees. I did this by using the Cajun Craze Stampin Write Marker and adding shadow/contrast by following the underside lines of the stem and branches. This will give a greater impression of depth. If you double click on the photo you will see this in more detail.
I then used the Cherry Cobbler Stampin Write Marker to colour in the Snowman's hat and scarf.

Next, you need to stamp your sentiment (s) onto a scrap piece of cardstock using Versamark ink and dust with Gold Embossing Powder. Heat set as before. Die cut the sentiment using the Decorative Label Punch. Punch a further two of these labels from Dazzling Diamonds Glimmer Paper. You are going to use these to create a layered label. So cut one of the Glimmer labels in half on the vertical and the other in half on the horizontal. Attach Stampin Dimensionals to the cut edge of each piece. Adhere to the back of the embossed label, matching the pieces but leaving 2-3mm of the Glimmer Paper Showing. Adhere the two end pieces first, and the top and bottom pieces next. Put to one side.
Now to create the tag's top. Trim a scrap of Kraft cardstock to 5cms x 7 cms.
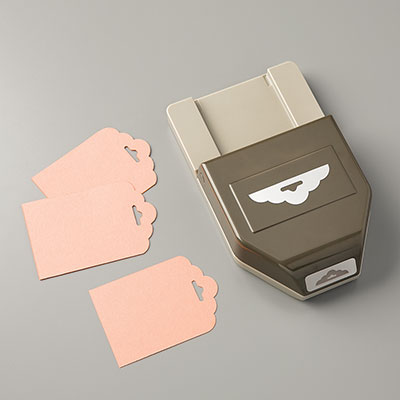
Punch the tag top at one end using the Scalloped Tag Topper Punch.
Adhere this to the back of the tag using a little Tombow Multi-Purpose Glue leaving the scallop top showing.
Wrap a piece of Cherry Cobbler Sheer Linen Ribbon around the top of the tag and tie a pretty bow.
Apply Stampin Dimensionals to the back of the label and attach at an angle under the ribbon on the tag front.
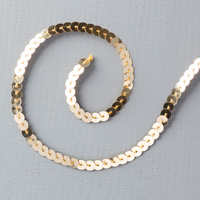
Finish by looping some Venetian Crochet Trim through the tag top, and some add some Gold Sequin trim, leaving long tails, using Mini Glue Dots.
Add a few Basic Rhinestones and you have a beautiful tag for someone special.
 If you
would like to join my community board on my Pinterest account to post your own
photo's
If you
would like to join my community board on my Pinterest account to post your own
photo's
ping me
your email address and I will add you
kim@stampinupatthewarren.com
If you would like
to ask any questions on techniques or products, or anything else related to my
blog posts, please feel free to ask away
Happy Stamping
Kim xxx
Contact me to
order:
Telephone/Txt:
07759587004
Email: kim@stampinupatthewarren.com
Or Order
Online 24/7
Or Click on the
image of the products used below and it will take you straight to my online
store
 |  |  |  |  |
 |  |  |  |  |
 |  |  |  |  |
 |  |  |  |  |
 |  |  |
Table built using Product Table Builder by The Crafty Owl - Independent Stampin' Up! Demonstrator.


No comments:
Post a Comment