Good Day to you all. I hope you are all having a great week, and starting to think about dressing your home for Christmas. I am even thinking of menu's as we have at last count, 24 adults and 8 children here for Christmas Dinner. Yes, we are a little mad, but have a very close family and every couple of years years we host the day here. It's great fun, playing games (and we are each individually very competitive). I have 3 younger brothers, but we never quarrel, we each accept our differences of opinion, view etc. We also have 3 sons, a daughter, 2 grandaughters and a grandson.
, What is great is that the grandchildren are young enough to be believers, and each year steve Dons his very beautiful Santa outfit and comes calling with bell in hand, and we all love watching the childrens faces as they look in awe and with a little uncertainty (Skye is only 2).
Back to work Kimbo!!
Todays ORNAMENTAL PINE card brings you some paper piercing, heat embossing and Die Cutting. With Blackberry Bliss, Mossy Meadow and Whisper White being the colours of
choice with a little Gold Soiree DSP thrown in for good measure.
Begin with a 6£ (15cm) square card blank.
Trim a piece of Gold Soiree Designer Series Paper (DSP) to 14.5cms x 14.5cms. Adhere to the card blank with a little Tombow Multi-Purpose Glue.
Next, trim a piece of Whisper White cardstock to 14cms x 14cms. Randomly stamp the cardstock with the splatter stamp from Gorgeous Grunge using Smokey Slate ink.
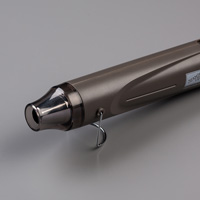
Ink up the Ornamental Pine stamp with Versamark and before Stamping, ink up the pine with Mossy Meadow ink, and the branch's stem with Baked Brown Sugar ink, and stamp in the centre of the cardstock. Dust with Clear Embossing Powder, remove the excess, and heat set with your Heat Tool
Stamp a second set of the above on another ppieceof Whisper White cardstock, and heat emboss as above, Die cut this with the 8cm Circle framelit (from the Circles Collection).
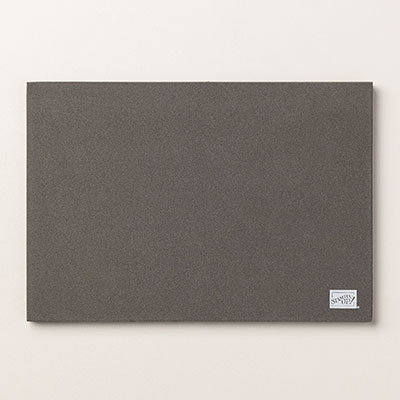
Now for that Paper Piercing, You need a Stampin Up Pierce Mat, the Essentials Paper Piercing set, and a piercing tool. You are going to create snowfall by piercing your stamped image. Turn the stamped image upside down on their piercing mat, place the Template over the top and pierce each hole forfor each row of circles.. Apply stampin Dimensionals before turning the cardstock back over. the circles
You now need to adhere the pierced circle on top of the stamped image on the larger panel of cardstock. Take your time and do your best to match the stamped images before sticking down,
Next you are going to make your baubles. Inkl up the bauble stamp with Versamark and before stamping, ink up with Blackberry Bliss ink, stamp. Repeat this again with your second bauble but PLEASE CLEAN YOUR STAMP FIRST TO AVOID CONTAMINATING YOUR VERSMARK INK PAD.
Cut out the two baubles with your Paper Snips.
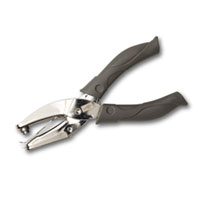
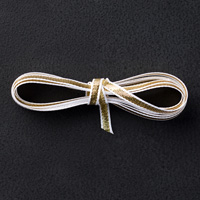
Now ink up a sponge dauber with Gold Encore ink and ink the edges of the baubles and then ink in the white parts on the baubles with gold ink on your sponge dauber too. Punch holes tot he loop areas of the baubles.. Apply Stampin Dimensionals to the reverse.Thread through a piece of 1/8" gold ribbon and tie a bow. Attach to the die cut circle.
Heat emboss your Sentiment using Versamark and Blackberry Bliss ink as detailed above.
Die cut using one of the Project Life labels. Ink the edges of the cardstock with blackberry bliss ink, and sponge some colour on the label using the residual ink on the sponge.
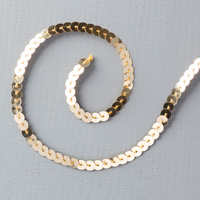
Adhere a strip of Gold Secquin Trim along the bottom of the cardstock. Add a few basic Rhinestones here and there, and then mount the layered topper onto the card blank using Stamping Dimensionals.
And there you have it ....
If you
would like to join my community board on my Pinterest account to post your own
photo's
ping me
your email address and I will add you
kim@stampinupatthewarren.com
If you would like
to ask any questions on techniques or products, or anything else related to my
blog posts, please feel free to ask away
Happy Stamping
Kim xxx
Contact me to
order:
Telephone/Txt:
07759587004
Email: kim@stampinupatthewarren.com
Or Order
Online 24/7
Or Click on the
image of the products used below and it will take you straight to my online
store
Table built using Product Table Builder by The Crafty Owl - Independent Stampin' Up! Demonstrator.











No comments:
Post a Comment