Day four of this weeks Stamp Set Showcase on
for the
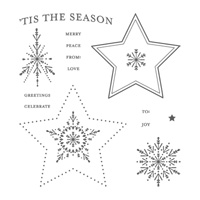
MANY MERRY STARS STAMP SET
And today is a mash up on the stamp sets I have used this week plus an additional one
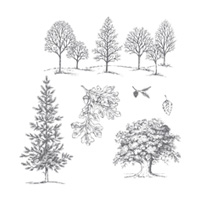
So today I have used the Sentiment from Many Merry Stars, the background trees are from Festival Of Trees, and the trees in the forefront are from Lovely as a tree
And todays colours are:
Soft Sky
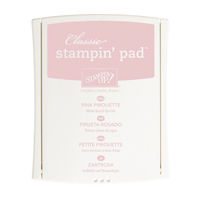
Pink Pirouette
Smokey Slate
& Pear Pizzaz
So begin by making your 6" square card blank by trimming a piece of Whisper white cardstock to 15cms x 30 cms. Get our your Metric Scoring Plate and Simply Scored Tool, place the long side of the cardstock at the top of the metric scoring plate. Score at 15cms. Fold along the score line (away from the indentation) and burnish the fold using the your Bone Folder. Put to one side to avoid ink contamination.
Trim a piece of Whisper White cardstock to 12cms x 12 cms.
Ink up the Many Merry Stars Sentiment stamp using Versamark and stamp centre top of the cardstock. Dust with Gold Embossing Powder, give one sharp rap on the back of the cardstock to remove excess powder. Heat set using your Heat Tool.
Now using some scrap cardstock. Cut some curves to use as a mask to create some snow drifts. Use the sponge you made yesterdays card with, and ink up with Soft Sky ink,. Position the mask for your first drift. Start at the Centre top and work your way down at diagonal lines, so you are creating a visual V shape from top centre to the two outside bottom corners. Sponge and re-ink the sponge as necessary, but you do need tonal changes, so don't re-ink too often.
Next, ink up a fresh section of your sponge with Pink Pirouette ink and add a little pink sponging in here and there.
Now ink up your Festival of Trees fir tree stamp with Smokey Slate ink, but try to avoid inking the trunk of the tree as you want it to appear the trees are coming through the snow. Stamp several of these trees in Smokey Slate ink in the same v shape formation.
Now you will need the large Conifer stamp in the Lovely As A Tree stamp set and ink it up with Pear Pizzaz ink and stamp several trees from the centre of the card and down towards the bottom of the card. Finish by inking up a few tips of the trees peeking over the very bottom of the card.
Wrap around a piece of 5/8" Silver Satin ribbon and secure on the back of the panel using Glue Dots or Sticky Strip.
Mat (mount) the stamped panel onto a piece of Pear Pizzaz cardstock measuring 12.5 cms x 12.5 cms
Mat this panel onto a piece of Smokey Slate cardstock measuring 14.5 cms x 14.5 cms
Adhere this to the card b lank using Stampin Dimensionals
Finish by adding an All is Calm Snowflake Embellishment using mini Glue dots
Have fun, and please share your own CASED versions of my card
If you
would like to join my community board on my Pinterest account to post your own
photo's
ping me
your email address and I will add you
kim@stampinupatthewarren.com
If you would like
to ask any questions on techniques or products, or anything else related to my
blog posts, please feel free to ask away
Happy Stamping
Kim xxx
Contact me to
order:
Telephone/Txt:
07759587004
Email: kim@stampinupatthewarren.com
Or Order
Online 24/7
Or Click on the
image of the products used below and it will take you straight to my online
store
Table built using Product Table Builder by The Crafty Owl - Independent Stampin' Up! Demonstrator.
: 11pt;">


No comments:
Post a Comment