
Good Morning to you All
And I know I hve been teasing you all, throughout the week, that I have a fab Christmas Gift Idea fir you all. and here it is...
Yes, it is one of Stampin Up's This & That Journals that I have covered with an embossed and coloured front cover featuring
WHITE CHRISTMAS
Stamp Set
The good news is that I can keep the Tutorial short as most of the techniques used were covered in yesterdays post. So if you haven't read yesterdays post, then do so straight away by

To create this Journal Cover, trim a piece of Gold Soiree Specialty Designer Series Paper (DSP) to 13.5 x 20 cms.
Adhere to the front cover of a This & That journal using a little Tombow Multi-Purpose Glue.
The trim a piece of Kraft cardstock to 13.5 cms x 18.5 cms
Ink the edges of the cardstock with Gold Encore ink using a Sponge Dauber.
Stamp the Tree Stamp on the front of the Kraft Card 3 times using Versamark Ink. Dust with White Embossing Powder, remove the excess and heat set with your Heat Tool.

Next, stamp the snowfall, polar bear, Snowman & Car with Versamark Ink, and dust with White Embossing Powder, remove the excess and heat set as above.
Next, Randomly Stamp the Reindeers, Christmas Tree (on top of the car), Stars & birds with Versamark ink and dust with Gold Embossing Powder. Remove the excess and heat set.
Create contrast on the trees using Cajun Craze Stampin Write Marker (see yesterdays post), and Cherry Cobbler for the middle of the Stars & snowman's hat/scarf.
Colour in the Tree with Garden Green Stampin Write Marker
Colour in the Reindeer's with the Silver Stampin Dazzle Marker.
Use the White Uni-Ball Signo Gel Pen to colour in the polar bear using a circular motion

Stamp your sentiment of choice onto a piece of Shimmery White cardstock using Versamark Ink, dust with Gold Embossing Powder and Heat Set.
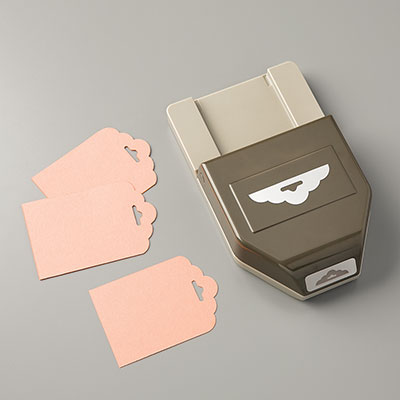
. Die cut using the Scallop Oval Punch, and punch out another two scallop ovals from Dazzling Diamonds Glimmer Cardstock. ink the edges of all three the labels with Gold Encore Ink using a Sponge Dauber Create the layered label in the same way as yesterdays project (the Tag). Then mount at the top of the cardstock using Stampin Dimensionals. Add a few Basic Rhinestones
Wrap around a piece of Cherry Cobbler Sheer Linen Ribbon and tie a bow, trim the tails.
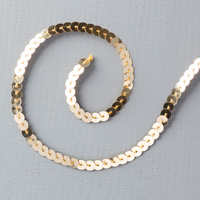
Finish by wrapping a length of Gold Sequin Trim around the knot of the bow, and tie a loose knot.
Next tale another length of the Gold Sequin Trim and stick it across the very bottom edge of the cardstock using Sticky Strip or Glue Dots.
Apply Stampin Dimensionals to the reverse side of the cardstock and mount onto the front of the Journal.
If, like me, you keep the recycled brown packing paper that comes in the boxes with your Stampin Up Supplies, then why not iron some of that paper, and stamp all over with a mixture of the White Christmas stamps in a combination of Whisper White Craft Ink and Gold Encore Ink, and you can make a truly beautiful and co-ordinated Gift, Tag and Packaging?

I would love to hear how you guy 's get on with your own versions of this project, so leave me a comment and/or ping me a link to your Pinterest Page, Facebook Page, or Blog ...
If you
would like to join my community board on my Pinterest account to post your own
photo's
ping me
your email address and I will add you
kim@stampinupatthewarren.com
If you have any questions on
techniques, orders, products etc, please ask away by adding comments below, or
you contact me via:-
Telephone / Text: 07759587004
OR
Alternatively, you can click on the
product images below and it will take you straight to my online shop


 |  |  |  |  |
 |  |  |  |  |
 |  |  |  |  |
 |  |  |  |  |
 |  |  |  |  |
 |  |  |  |
Table built using Product Table Builder by The Crafty Owl - Independent Stampin' Up! Demonstrator.
No comments:
Post a Comment