
Today I have a fab technique for you. I know I have used it a couple of times before, but it is such a fab technique and leaves the room smelling glorious, so I decided to have a go as a Christmas Card.
My colleague, Pippa Jones (Paper Piskies blogspot) first taught this technique and it involves
the cheapest of cheap SHAVING FOAM ... yes, you heard me right ... shaving foam.
so here is todays LOVELY AS A TREE Card and I hope you are ready for a bit of Messy Foam?

You are going to need 6" square (15cms) Whisper White Card Blank
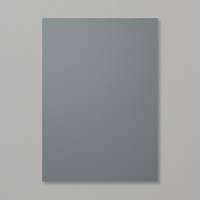
Begin by trimming a piece of Black Cardstock to 14.5 cms x 14.5 cms
Create an Aperture in the centre of the Black cardstock using one of the Window Framelits
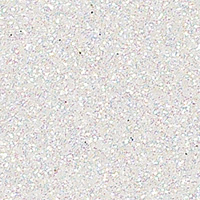
Select the next two largest Window Framelits and place the two framelits onto the magnetic platform (with the usual sandwich of cutting plates or Tab 1 of your Big Shot, placing the smaller framelit inside the other, and die cut using Dazzling Diamonds Glimmer Paper to create a sparkling frame for the aperture.

No2 trim two pieces of glossy photo paper to 12cms x 12 cms.
Place one piece of glossy paper face up on a piece of Grid Paper of a few sheets of Kitchen Towel.
Spray a large blob of the cheapest of cheap Shaving foam onto the glossy card.
Place 3 drops of the following Re-Inkers onto the top of the shaving foam
Night of Navy
Bermuda Bay
Pool Party
Using a wooden skewer or similar, swirl the shaving foam, but don't over do it.
Next place the other piece of glossy paper, glossy side down, on top of the shaving foam
And here is the messy bot. Press the top piece of glossy paper onto the bottom piece, you will get lots of foam leaking out the sides, but do not worry.
Lift off the top piece of glossy paper and discard the rest . Wipe the excess foam off the top piece of glossy paper. Once dry, stamp the 4 trees in Black Memento ink onto the now, ink marked piece of glossy paper, Apply Stampin Dimensionals to the four corners of the glossy paper and adhere to the back of the aperture on the black layer of cardstock.Apply Stampin Dimensionals to the reverse of the Black Layer of cardstock and attach to the card blank.
Make a layered label by stamping your sentiment onto a scrap piece of Whisper White cardstock and punch out using the Word Window. Layer this onto a punched Modern Label using Dazzling Diamonds glimmer paper. Layer up the labels using Stampin Dimensionals and attach to card front.
To Finish, use a few Basic Rhinestones, and a few Frosted Sequins and the card is made ready for someone special this Christmas.

If you
would like to join my community board on my Pinterest account to post your own
photo's
ping me
your email address and I will add you
kim@stampinupatthewarren.com
If you would like
to ask any questions on techniques or products, or anything else related to my
blog posts, please feel free to ask away
Happy Stamping
Kim xxx
Contact me to
order:
Telephone/Txt:
07759587004
Email: kim@stampinupatthewarren.com
Or Order
Online 24/7
Or Click on the image of the products used below
and it will take you straight to my online store
 |  |  |  |  |
 |  |  |  |  |
 |  |  |  |  |
 | 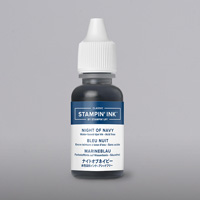 | 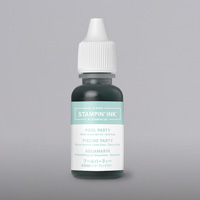 |  |  |
Table built using Product Table Builder by The Crafty Owl - Independent Stampin' Up! Demonstrator.
FOR ONE WEEK ONLY!
EXTRA SAVINGS AND EARNINGS WHEN YOU JOIN THIS WEEK
For one week only (25 November – 2 December), you can join Stampin’ Up! as a new demonstrator for some great deals! Get a 25 percent discount on the Starter Kit with all the same great products included AND five percent cash back on all commissionable orders you place in December.


No comments:
Post a Comment