
Today has a little of the
MANY MERRY STARS
Stamp Set (the sentiment)
Coupled with
LOVELY AS A TREE stamp set
This has to be THE most versatile stamp set in Stampin Up's Catalogue, and long may it remain there
It works for every season just by changing the colour scheme and the tree you are stamping with
But what i love about todays card is the subtle sponging creating that hazy, misty look whilst being bright enough to give the impression of a snow scheme.

So to begin, you need to make your card blank by trimming a piece of Whisper White cardstock to 14.8cms x 21cms.
Using the Simply Scored Tool & Metric Plate, and the long side of the cardstock to the top of the board, score at 19.5cms. Fold along the score line and then burnish the fold with your bone folder.
Next , trim another piece of Whisper White cardstock to 14.3cms x 10cms.
Stamp the sentiment at the top of this piece of cardstock using Versamark. Sprinkle with Silver Embossing Powder, Flick the back f the cardstock with one sharp rap, to remove any excess powder and heat set using your Heat Tool.
Continue working with this piece of cardstock.

Next is creating the snow scene using Sponging and masking.
Create some snowdrift like curves by cutting some from scraps of cardstock the width of the card blank.
Place the mask roughly half way up the cardstock, ink up Stampin Sponge with Soft Sky ink, and working in gentle circles, starting on the mask and working onto the cardstock, create your first drift. Repeat this process working downwards to the bottom of the card, moving the mask each time. Ink up your sponge frequently, but you also want changes in the tonal colour. You also want to create a blue 'Halo' around the cardstock so when you stamp the image, it will pop out at you.
Once you are happy with the effect, ink yo the Lovely As A Tree stamp seen below with Smokey Slate ink, and stamp the centre of the sponged panel.
Wrap around some 1/8" Silver ribbon and tie a bow.
Apply Stampin Dimensionals to the reverse of this panel and adhere to the front of the card blank

If you
would like to join my community board on my Pinterest account to post your own
photo's
ping me
your email address and I will add you
kim@stampinupatthewarren.com
If you would like
to ask any questions on techniques or products, or anything else related to my
blog posts, please feel free to ask away
Happy Stamping
Kim xxx
Contact me to
order:
Telephone/Txt:
07759587004
Email: kim@stampinupatthewarren.com
Or Order
Online 24/7
Or Click on the
image of the products used below and it will take you straight to my online
store


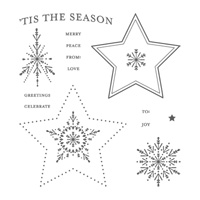
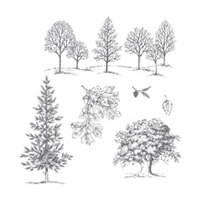
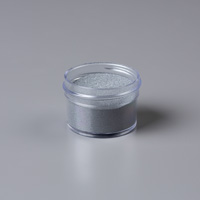


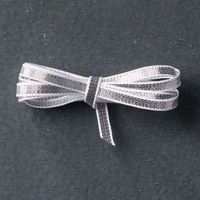


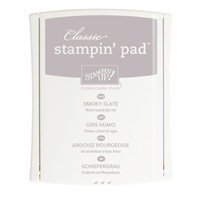
Table built using Product Table Builder by The Crafty Owl - Independent Stampin' Up! Demonstrator.
%2B2014-15.jpg" imageanchor="1" style="margin-left: 1em; margin-right: 1em;">


%2B2014-15.jpg" imageanchor="1" style="margin-left: 1em; margin-right: 1em;">
No comments:
Post a Comment