Welcome Back to the last day of this weeks Stamp Set Showcase
BRIGHT AND BEAUTIFUL
And today I have an Aperture Card for you.
If I followed the guidance of a fellow blogger, if you follow me on the various Google+ communities that I subscribe to, you should no longer see the duplicates of my posts when you visit my Google + profile. I hope you will take the time to have a more thorough browse through my postings now those duplicate posts are gone!
So here goes for the tutorial on todays card.
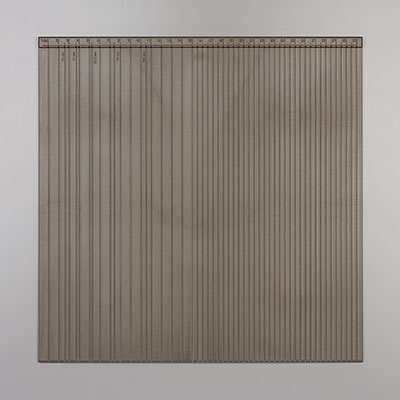
Begin by making your card blank by trimming a piece of Whisper White cardstock to 15cms x 30cms. Using your scoring too/board, score the long side (at the top of the board) at 15cms. Fold the score line and burnish with your bone folder.
Open your card out so it says flat on the table. You are now going to randomly stamp the front of the card blank using Gold Encore ink and the small and medium stars int he stamp set.
.
Next, you will take your Stars Framelits, and take the framelit that is one size larger than the medium star in the stamp set, and using the magnetic platform, centre your framelit onto the front of the card blank and die cut the star shape by running the card blank and the framelit through your Bog Shot. Remove the die cut star and use for another project.
You are now going to heat emboss the medium star on a scrap of Whisper White cardstock as follows:
Mount the medium star stamp onto an acrylic block
Ink up with Versamark and before stamping, ink the stamp with Bermuda Bay ink, stamp onto the scrap of cardstock and sprinkly on Clear Embossing Powder, shake off the excess powder and also give one sharp rap with your fingers ont he back of the cardstock to remove any remaining loose powder.
Melt the powder using your Heat Tool.
When cooled, die cut the embossed star (that fits the stamp) plus a second star front Whisper White cardstock of the same size as the star stamp.
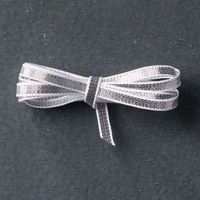
Attach a piece of Silver 1/8" ribbon to the centre of the star, then attach the second star to the back of the embossed star to hide the silver ribbon. Using Glue Dots, attach the ribbon to the inside top and botton of the card, this will leave a little loseness for the Star to swizzle a little. Trim the ends of the ribbon, so the inside looks neat
Next trim a piece of Vellum to 14.5 cms x 14.5 cms
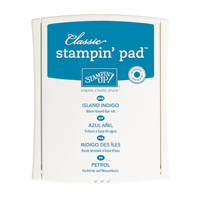
Use the same combination of Versamark and ink (This time using Versamark and then island indigo ink) to stamp the sentiment from the stamp set centrally on the Vellum. Set with the Heat Tool. Attach this to the inside back of the card using Glue Dots.
This should give you a hint of the sentiment of the inside of the card as any draught causes the star to swizzel.
Finally, Stamp your sentiment using the same technique as the inside of the card (Versamark, Island Indigo Ink & Clear Embossing Folder)
If you
would like to join my community board on my Pinterest account to post your own
photo's
ping me
your email address and I will add you
kim@stampinupatthewarren.com
If you would like
to ask any questions on techniques or products, or anything else related to my
blog posts, please feel free to ask away
Happy Stamping
Kim xxx
Contact me to
order:
Telephone/Txt:
07759587004
Email: kim@stampinupatthewarren.com
Or Order
Online 24/7
Or Click on the
image of the products used below and it will take you straight to my online
store
Table built using Product Table Builder by The Crafty Owl - Independent Stampin' Up! Demonstrator.














No comments:
Post a Comment